Live Streaming
For help with problems streaming live events, refer to Live Playback Troubleshooting.
Live Settings
In this section you configure general settings for live streaming.
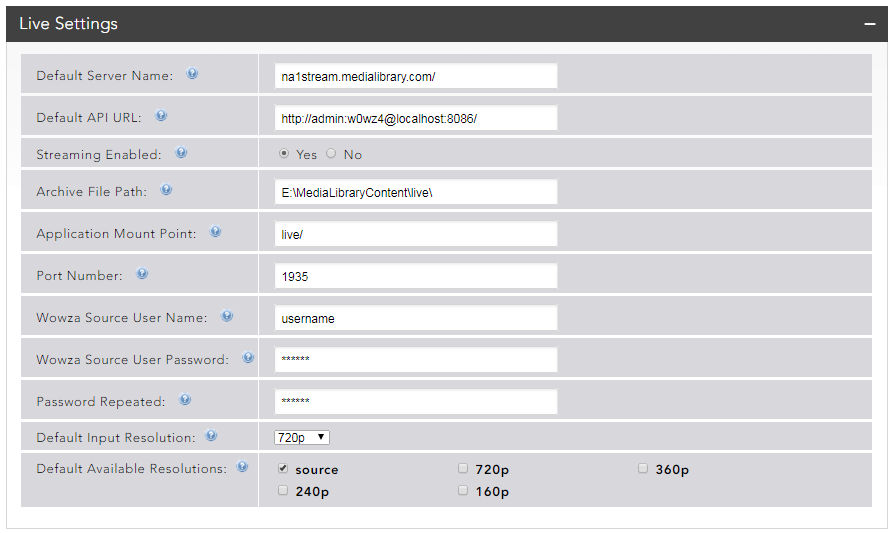
You can set the following options:
- Default Server Name – The name of the streaming server.
- Default API URL – The API URL that allows live streaming statistics to be retrieved.
- Streaming Enabled – Sets whether live streaming is enabled on the system.
- Archive Path – The path where the live streams will be archived.
- Application Mount Point – The mount point from which the streaming server serves the live streams.
- Port Number – The live streaming port number (1935 by default).
- Wowza Source User Name – The source authentication user name created in Wowza for authentication in the encoder. This will be used as the default setting for any new channels that get created, but the best practice is to create a user for each channel. For details, see Wowza source authentication.
- Wowza Source User Password – The password for the Wowza Source User account.
- Password Repeated – The confirmation of the password for the account.
-
Default Resolution – The default resolution used by the channels where the streams will be displayed.
- Default Available Resolution – Resolutions set by default for any new channels created.
Checking more than one resolution will force you to use a streaming server URL other than which you are using for your MEDIALinstance. This is because checking multiple resolutions will have a performance impact on the server as transrating the live stream is a processor-intensive task. To use adaptive bit rate streaming for live, use a Wowza Server URL other than the one used for MEDIAL. To ensure that archiving of the stream works, the live archive directory configured in the main Live Streaming settings MUST be a shared drive accessible by both your additional Wowza Server and your inbuilt MEDIAL Wowza instance. Please contact MEDIAL Support for advice on this configuration.
-
Navigate to the Wowza Streaming Engine Manager page.
You may need to contact your MEDIAL system administrator to gain access to the Wowza interface.
-
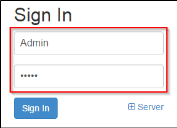
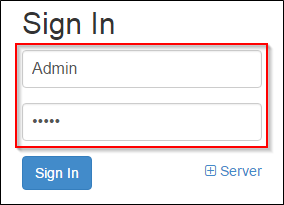
Enter your credentials into the sign-in box and click Sign in.
-
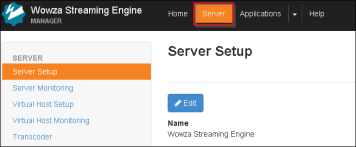
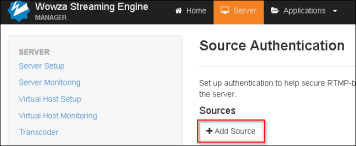
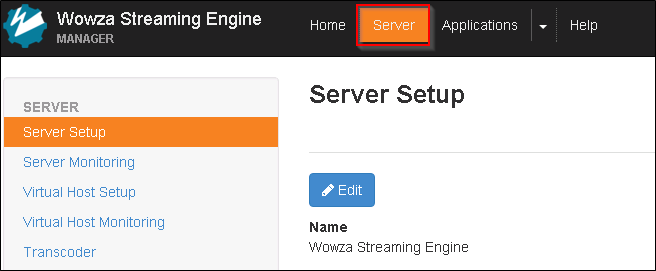
The home screen appears once you are logged in. At the top of the screen, click the Server menu button.
-
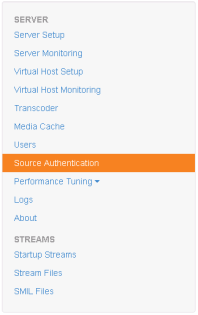
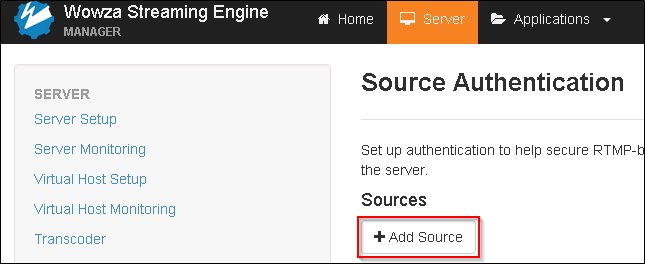
In the side bar at the left of the screen, click the Source Authentication link.
-
In the page that loads, click Add Source.
-
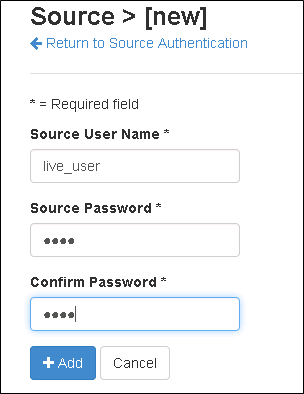
In the form that displays, define the credentials for the authentication account. Select a user name followed by the password, then confirm the password. Click Add.
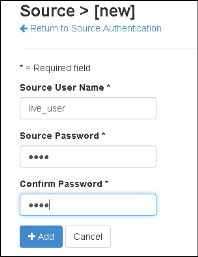
It is OK to use the same credentials you use elsewhere on MEDIAL.
-
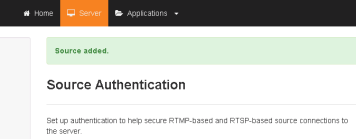
Once the credentials are validated, you will receive a confirmation that the source has been added successfully.
- Exit the Wowza Streaming Engine Manager.
- If MEDIAL uses multiple Wowza Media Servers, repeat this procedure for each server. You can use the same authentication credentials on each server.


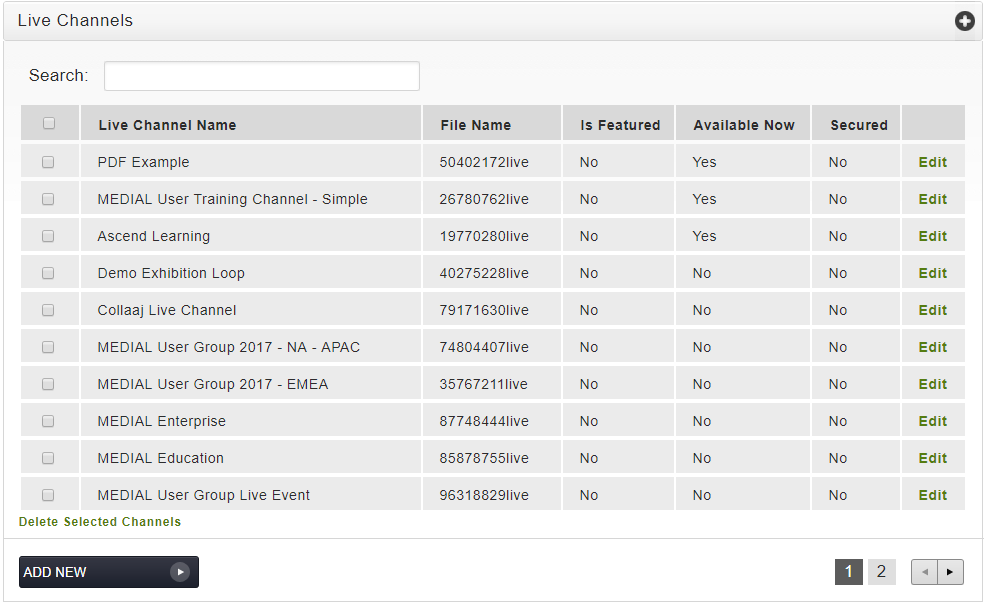
Live Channels
The Live Channels section lists the channels that have been created. Each line lists the channel name along with the stream name, indicating if the channel is featured, available now, or secured. You can edit the channel by clicking the Edit link. To delete a channel, check the box next to the channel name and click the Delete Selected Channels link at the bottom of the screen.
Adding a Live Channel
Click Add New in the Live Channels section to create a live channel in MEDIAL.There are four main menu options that are summarized below and explained in detail in the rest of this topic.
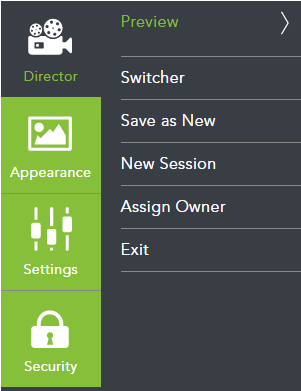
The Director area allows you to preview the live stream, and to switch manually between the events screens for the stream such as log-in, pre- and post-events, and the live stream itself. The stream can be saved as new, assigned to a user, or a new session can be created.
The Appearance area allows you to customize all the aesthetic elements of the live stream screen template, such as images, header images, logos and player page elements like hyperlinks and any text on the stream screens.
In the Settings area, the channel can be named, and the live source and destination of the stream can be configured. Availability of the stream can also be set in this section.
In the Security section a live stream can be password-protected, and/or secured against allowed IP address ranges.
Settings Menu
The settings area allows the channel to be named and be given a description. Streaming server settings can be edited where necessary and availability of the event can be set.
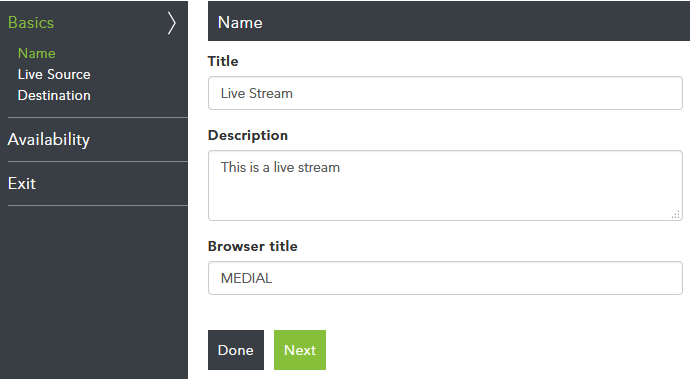
Basics
Name
Under Basics, the channel can be named, a description can be provided and the browser tab title can be set.
Live Source
On the Live Source page, changes can be made to the technical elements of the live stream.
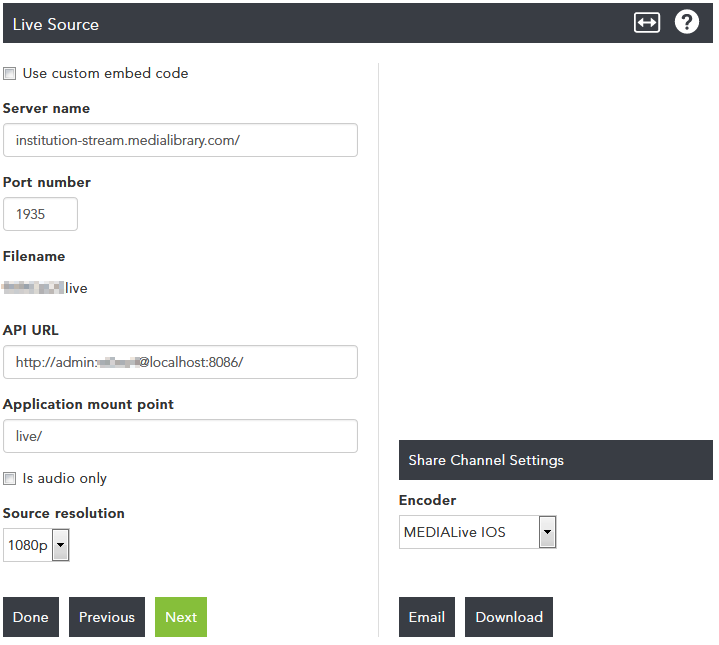
The Server name, port number, API URL and application mount point are all taken from the main Live Settings area. Changing these values might result in breaking the live stream.
On the Live Source page, the following options are available:
-
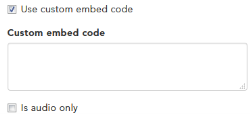
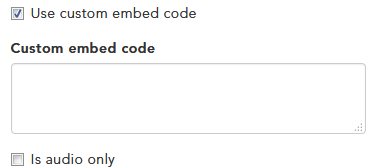
Use custom embed code – This box can be checked to allow custom embed code to be used. When checked, a text box will appear for the embed code to be entered in.
- Server name – this is the URL of the streaming server.
- Port number – the port number used for the live stream.
- Filename – the file name of the live stream. This cannot be edited.
- API URL – URL of the Wowza API.
- Application mount point – the name of the Wowza application that the live stream uses.
- Audio only – check this box to specify that the live stream is audio only.
-
Source resolution – This drop-down box can be used to change the source resolution of the live feed. Change this to match the resolution being used at the source of the stream, that is, what resolution you are using in your encoder.
If you are using the MEDIALive app (available on the App Store or Google Play) the source resolution selected in Live Source page will be sent in the configuration URL that you can send by e-mail or download as explained below.
Share Channel Settings
In the Share Channel Settings area there is a drop-down box which contains some encoder presets. These can be downloaded or emailed to a user and used with the encoder to pre-populate the settings for the channel. Configuration files can be downloaded or emailed to a user for the following encoder applications:
- MEDIALive iOS
- MEDIALive Android
- TeleStream
- NewTek
Use the drop-down box to select the correct option for the encoder being used, and then click Download to download the configuration file, or Email to send the file via email.
For MEDIALive iOS, MEDIALive Android the configuration will auto-populate when clicking on the link sent when on your iOS or Android device
For TeleStream and NewTek encoder, an XML file will be sent or downloaded that needs to be input into the encoder
MEDIAL supports encoders that work with Wowza Streaming Engine. Please consult your encoder vendor for specific instructions on pushing a live stream to Wowza Streaming Engine.
Destination
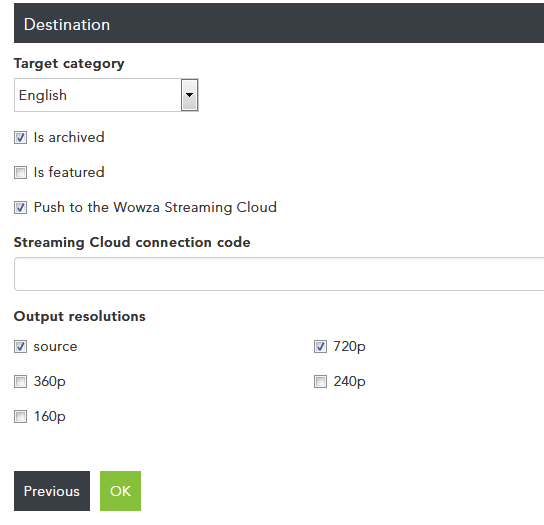
The following options are available in the Destination menu:
- Target category – this is the category where the live event will appear in, and will be archived to if archiving is enabled.
- Is archived – encodes the live stream when it is over and archives it in the target category.
- Is featured – Checking this box displays the archived recording in the featured media area in the live channel section of the front end portal.
- Push to the Wowza Streaming Cloud – If this box is checked the live stream can be pushed to the Wowza Streaming Cloud. Enter the Streaming Cloud connection code in the box below.
-
Output resolutions – Check the resolutions for the stream to be available in.
Checking more than one resolution will force you to use a streaming server URL other than which you are using for your MEDIAL instance. This is because checking multiple resolutions will have a performance impact on the server as trans-rating the live stream is a processor intensive task. To use adaptive bit rate streaming for live, input a Wowza Server URL other than the one used for MEDIAL. To ensure archiving of the stream works the live archive directory configured in the main Live Streaming settings MUST be a shared drive accessible by both your additional Wowza Server and your inbuilt MEDIAL Wowza instance. Please contact MEDIAL Support for advice on this configuration.
Availability
Live State
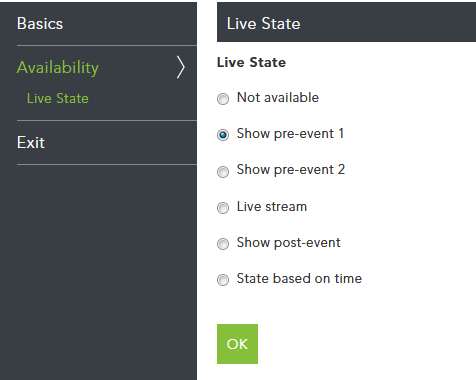
In this section the channel availability or default stream page can be set when the URL or the live channel on the portal is opened. There are several options to choose from:
- Not available – setting this option makes the channel unavailable
- Show pre-event 1 – the pre-event 1 screen will be displayed
- Show pre-event 2 – the pre-event 2 screen will be displayed
- Live stream – the Live Stream page will be displayed in the channel
- Show post-event – the post-event screen will be displayed
-
State based on time – setting this option will display time and date picker options for each of the sections of the live event.

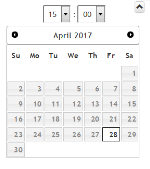
Click on the calendar icon under each of the sections to choose the date and time that each one should either start or end. Choose the date and time for each option and then click on the up-arrow to set it.
- Countdown Timer - The Pre-event 2 option must be set for the Countdown Timer option to appear, as shown in the appearance area of this topic. Additionally, the stream must also be set to Start based on time. When the Countdown Timer checkbox is checked, the values for Event start time and Event end time can be set. This will then display a countdown to the live event overlaid on the pre-event 2 screen for users waiting for the live stream to start.


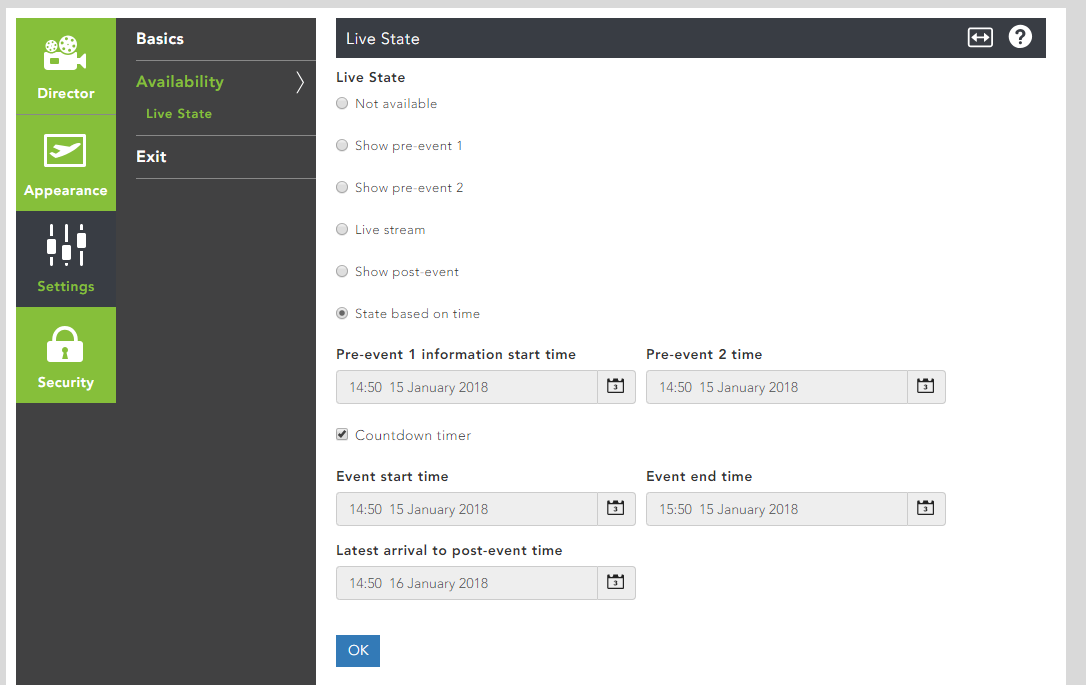
If the live stream has been configured to have a post event, then the Latest arrival to post-event time option can be configured to set the latest time a user can arrive to view the post event media before it becomes unavailable.
Exit
Click on Exit to exit the channel.
Director Menu
In the Director menu, there are six sub-menus available: Preview, Switcher, Save as New, New Session, Assign Owner and Exit.
Preview
The Preview area allows you to preview the live channel page to see what it will look like.
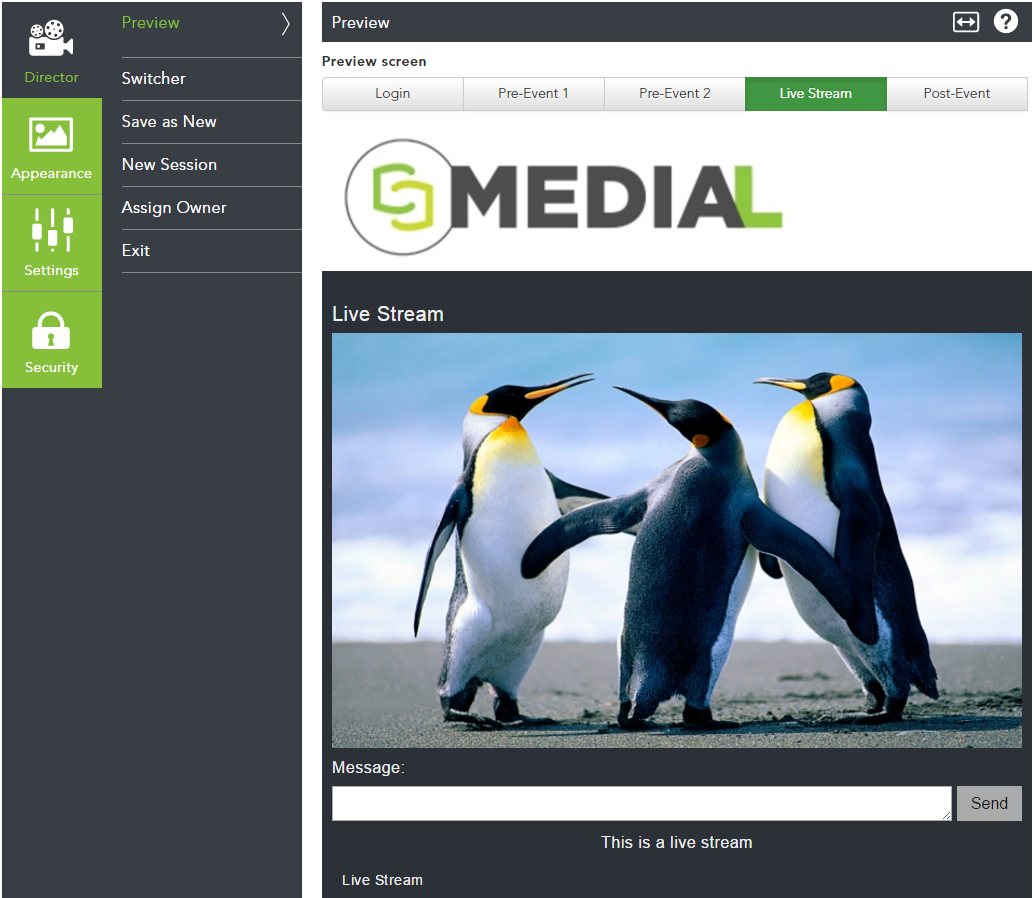
Preview selected pages are for the director only – this does not change what is streamed to the viewing audience. This is done in the next section called Switcher.
There are five options along the top of the screen:
- Login – This displays the login screen that users will see when they go to view a live stream when login has been activated for a channel.
- Pre-Event 1 – This shows the pre-event screen users will see before the live event begins.
- Pre-Event 2 – This displays the second pre-event screen users will see before the event starts. This can be useful to announce that the stream is just about to start.
- Live Stream – Displays the live stream itself.
- Post Event – This shows the post-event screen that users will see once the event has ended.
When configuring your live channel you can exclude one or more of these options. For example you may not want two Pre-event stages before your live stream.
Switcher
The switcher area is the control that you have as the channel administrator over what happens during the event, and when. Switching between the options at the top of the screen changes what the users see when you switch through the section. These are the options:
- Not Available – When this option is selected, the channel will be unavailable to users and display a message communicating this.
- Pre-Event 1 – Change to show the users the screen configured for pre-event 1.
- Pre-Event 2 – Change to show the users the screen configured for pre-event 2.
- Live Stream – Click Live Stream to begin showing the live event.
- Post-Event – Switch to Post-Event to stop showing users the live steam and display the screen configured for the post-event, for example a post-roll video while the system processes the live event, before replacing the post roll video with the saved video of the live stream.
-
Based on Time – If this option is selected, manually moving through the switcher isn’t necessary. The switching happens automatically based on the schedules set in the Availability section of the Settings menu. This will be discussed later in this topic.

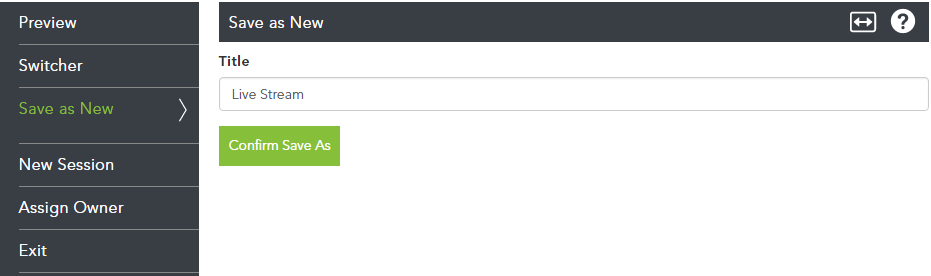
Save as New
Saving the channel as new will save all the channel settings as a new channel, duplicating all the settings that are currently configured.
Assign Owner
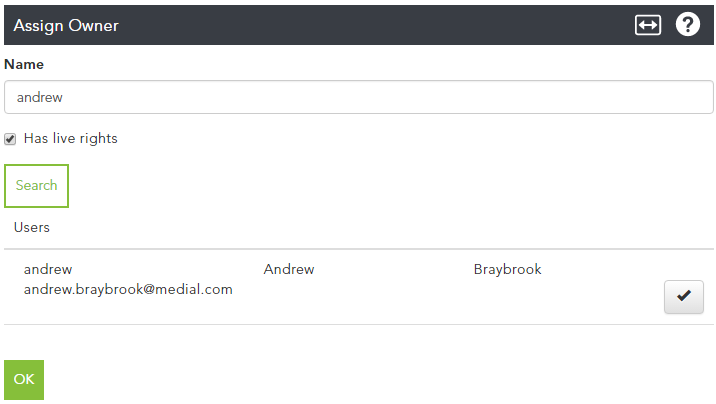
Assign Owner allows a channel to be created and then assigned to another user's account so that it appears in their Live Channels list when they log into their MEDIAL account. Channels can be created by administrators, saved as new if desired, and then assigned to other users on the system. Assigning channels in this way overcomes the need for users to create channels from scratch when there is already a good ‘template’ channel on the system.

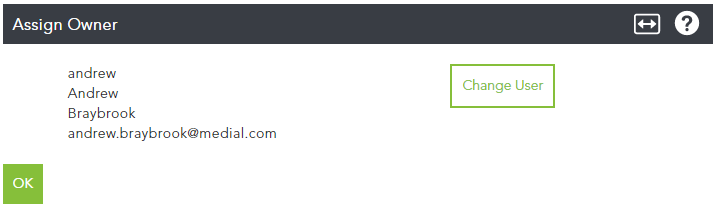
The current owner is displayed in the Assign Owner menu. Clicking Change User brings up a search box. Typing the name of a user will search and return a list of all accounts with that name in.
Click the check box to select the account for the channel to be assigned to.
The new user will be displayed. Click OK to save the change and assign the channel to the specified user.
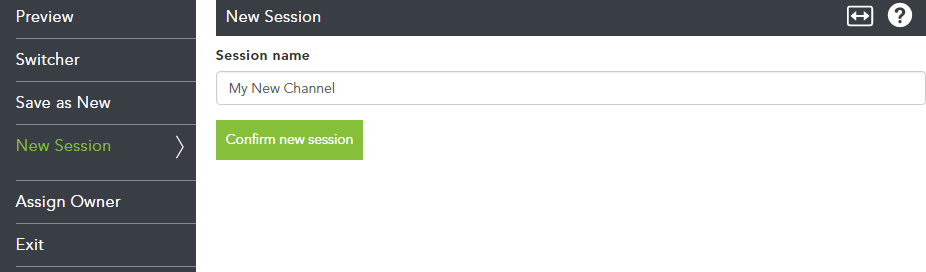
New Session
Clicking on New Session will start a new channel.
Exit
This will exit out of the live channel configuration area.
Appearance Menu
In the appearance section, the live stream can be customized to contain all the necessary images and text, amongst other things, that are desired for the user experience from pre-event to post-event. There are five sub-menus in the Appearance section: Player Appearance, Page Modules, Portal, Preview, and Exit.
Player Appearance
In this area, the video player is built into the Appearance Summary page. When options are selected from the drop-down boxes they are displayed as necessary on the menu area on the left. When all of the options on this page have been chosen, click Next to go through each page and upload any images, choose any videos and set any HTML as necessary. Clicking Done on any page will save the settings.
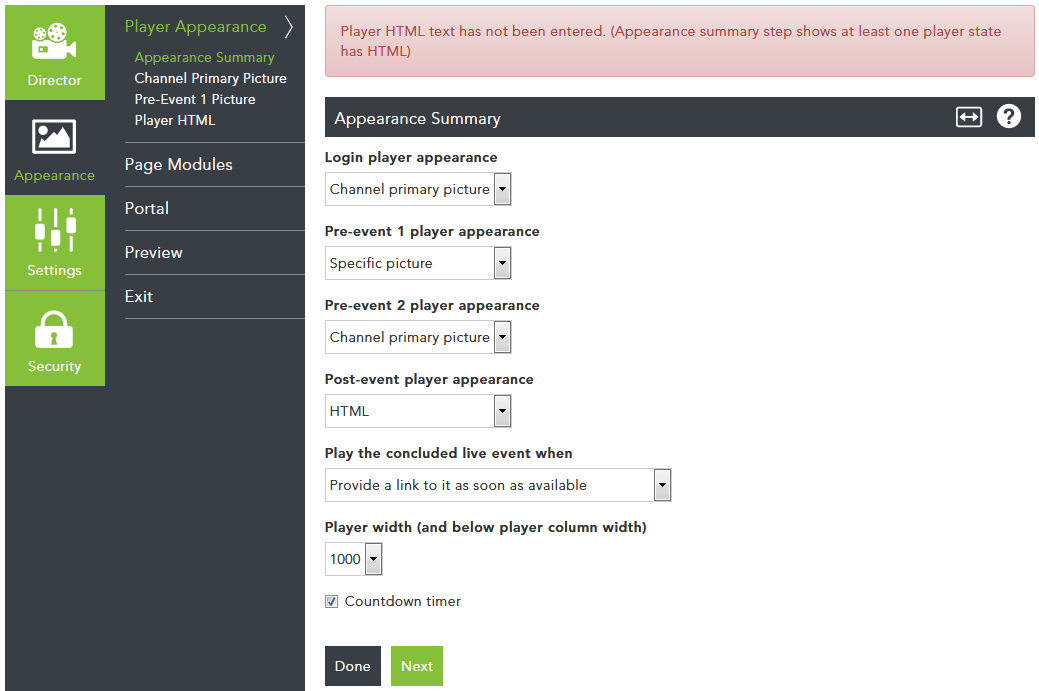
If any of the options don’t have an image, video or HTML set, a red warning is displayed at the top of the page. Navigate to the area concerned using the menu on the left to address any warnings.
The following sections of a live event can be customized:
- Login player appearance – Select the player appearance such as the channel's primary picture or a specific picture.
- Pre-event 1 player appearance – Select the first pre-event image.
- Pre-event 2 player appearance – Select the second pre-event image.
- Post-event player appearance – Select the post-event image.
- Play the concluded live event when… – Choose when the post-live event plays.
- Player width – Choose a width in pixels.
Choices for Login Player, Pre-event 1, Pre-event 2, and Post-event
For the Login player, Pre-event 1, Pre-event 2, and post-event player appearance sections of the event, the following options can be selected in the drop-down boxes:
- Video roll – Search and select a video from the MEDIAL library to play as a loop before a live stream starts or to promote an upcoming event.
- Channel primary picture – Use the primary picture that has been uploaded for the channel.
- Specific picture – Upload a specific image.
- System default picture – Use the system default picture.
- HTML – Allows embedding of HTML for finer control of what is displayed .
- Empty – Eliminates the Player area from the selected screen - displaying only the remaining components of the screen, such as Header and text fields and hyperlinks.
Play the concluded live event
Once the live event is finished, the “Play the concluded live event when” option can be set accordingly:
- Provide a link to it as soon as it is available – This will display a link to the archived live event once it has been transcoded by MEDIAL as a video on demand file.
- Play as soon as available – Once the clip has been transcoded it will immediately replace the post roll video and start playing back the just concluded event within the video player.
- Post-event video roll finishes then provide a link – Provide a link once the post-event video roll has finished.
- Post-event video roll finishes then play – Play the clip once the post-event video roll has finished playing. (once the on-demand version is available). This features will always play the Post Roll video prior to the on-demand video. This allows you to have a message or an advertisement prior to your viewer viewing the event video.
Player Width
The Player width option can be set to the desired width. This also sets the space to be the same width below the player.
Countdown Timer
The Countdown timer check box can be set to display a countdown for the live stream if desired.
Page Modules
The Page Modules section allows predefined appearance fields to be set, header images to be uploaded and adjusted, event text to be added and a Twitter Module and any hyperlinks to be added.
Appearance Options
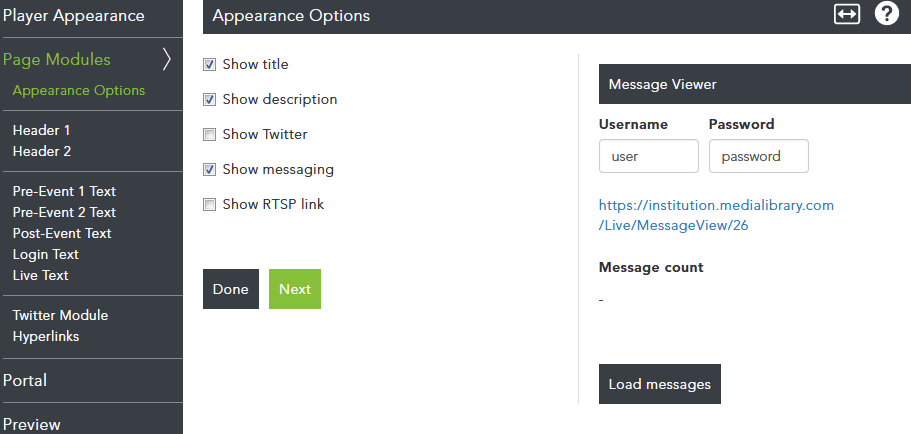
The following appearance options can be enabled:
- Show title - Shows the title set for the live event.
- Show description – Shows the description set for the live event.
- Show Twitter – Shows the Twitter feed.
- Show messaging – Shows the messaging module under the player allowing viewers to write submit messages to an administered chat page for review by the speaker or event director during your Q and A session.
- Show RTSP Link – Displays an RTSP link for the live event (used primarily for viewers with older Android devices).
Message Viewer
On the right-hand side of the screen there is a Message Viewer section which is displayed if the Show Messaging option is checked. A username and password can be set, which allows the user specified access to the messages viewers write during the live stream using the URL shown below.
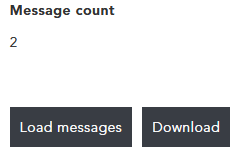
Clicking on Load Messages shows how many messages there are in the Message count area, and allows the messages to be downloaded.
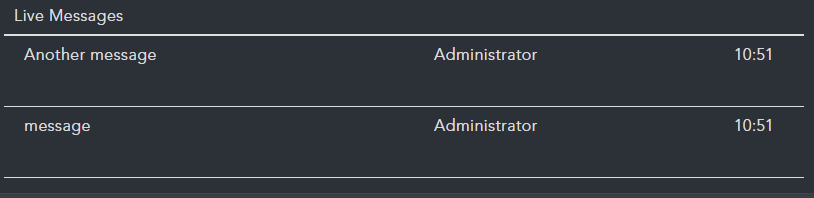
When accessing the messages via the link displayed in the Message Viewer area, a MEDIAL login screen will be displayed. Log in with the credentials set in the message viewer, and the messages will be displayed in a list.
Header 1 and Header 2
In this section the header images can be uploaded and customized. Along the top of the Header section is the Header type selection. Here, either Image, Image and brand image or Colour and brand image can be selected.

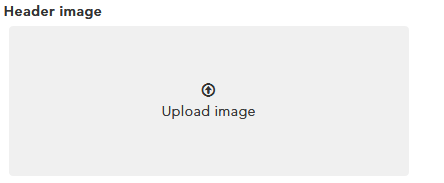
Image
To upload an image, click Upload image in the Header image area.
Once the image is uploaded the width and height can be modified by clicking on the numbers in the horizontal and vertical axis and entering in new numerical values.
Enter in the new value, or click on the plus or minus arrows to adjust the value by one pixel smaller or greater at a time, and then click on the ‘X’ to save the new value.
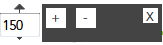
To start again with a new image, delete the current image by clicking the red trash can icon ( ).
).
Focus position
Using the focus position button the focus area of the image can be set.
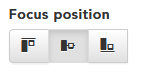
The focus can be set on the left, centre or right top, center or bottom of the image.
Show when (untick the other header to show here)
Check the boxes for the parts of the event where the header should be shown. Only 1 header at a time can be set for each of the 5 pages of the event, so if a check box is set for header 1 on the pre-event 2 page, you must first unchecked header 1 for pre-event 2 page before you can apply header 2 to the pre-event page 2.
Uploading an image and brand image, or colour and brand image
When uploading an image with a brand image, or setting a colour and brand image, some additional options are available:
-
Image and brand image
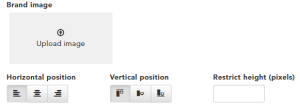
Along with an image a brand image can be uploaded. The horizontal and vertical position that the brand image will appear on the main image can be set, and the height of the image can also be restricted
-
Colour and brand image
Choosing this option will show a colour bar, allowing a colour to be chosen to be displayed behind your brand image. Click in the colour bar to choose the colour from the colour picker.

Event Text
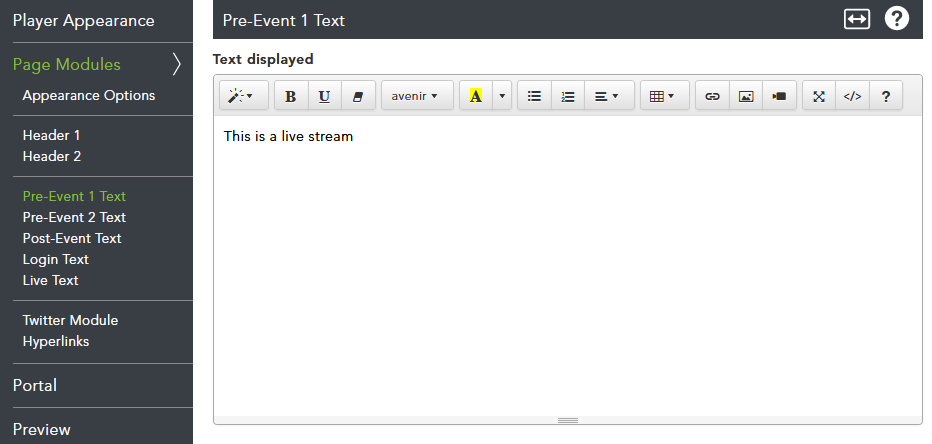
Text can be entered to be displayed for the following areas of the live event using the text editor:
Twitter Module and Hyperlinks
A Twitter module feed can be added in the Twitter Module section.
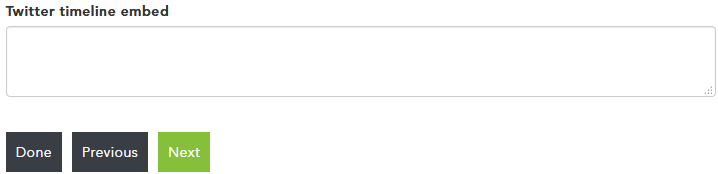
Any hyperlinks can also be added, and set to be displayed on any of the live event pages, using the check boxes. Hyperlinks are displayed on the lower third of the event page.
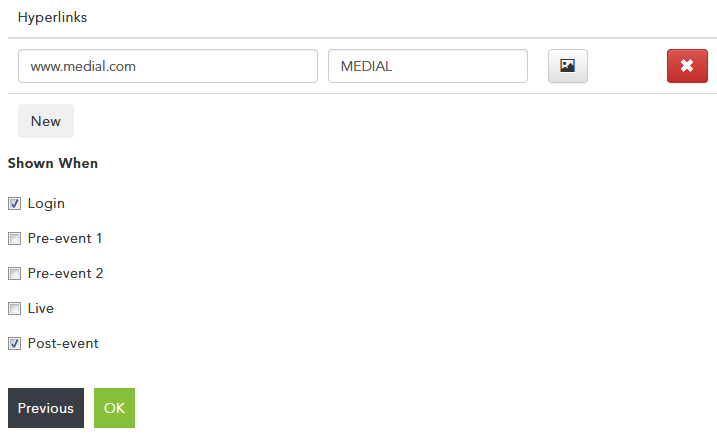
Click on New to add a hyperlink, and click the red X to remove one.
Portal
In the Portal menu options can be chosen for what is displayed on the player page in the portal. The following options can be set:
- Show embed code – embed code for the live stream is displayed.
- Show share icons – displays the icons for sharing the clip via a link, Facebook or Twitter.
- Show URL field – displays the URL for the live stream.
- Show comments – displays the comments area.
Related media scroll area contents
On the playback page there is a scrollable related media section that normally shows any related content.
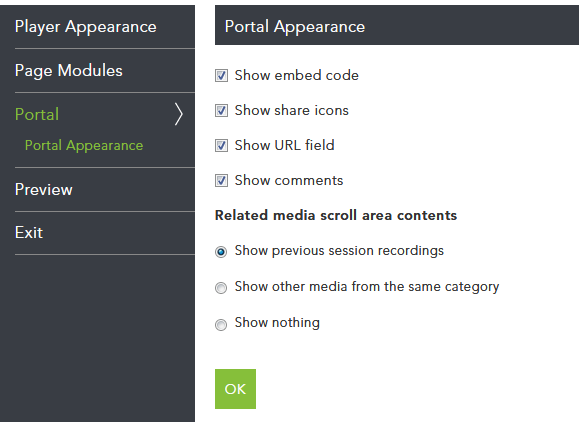
The three options for this are:
- Show previous session recordings – shows all recordings done in the current channel in the past. This is useful for a live classroom channel that meets weekly or other types of recurring meetings that discuss different topics each meeting.
- Show other media from the same category – shows related media from the same category the live event is in.
- Show nothing – doesn’t show any related media.
Preview
In the preview screen, the bar at the top of the page shows the different sections of the live event. Clicking through each of these will display a preview of each of the player screens at each part of the live event to display a preview of what the event will look like at each stage.

Exit
Clicking exit will exit the channel. A box will appear to allow any changes to be saved before exiting.
Security Menu
In the Security area, there are four sub-menus: Security Method, Password Access, Group Access, IP Address Ranges.
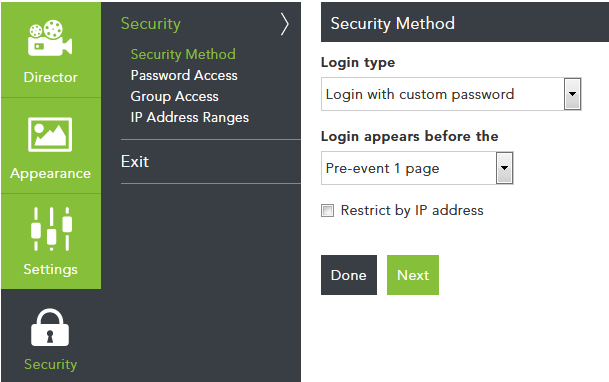
Security Method
In the Security Method menu, the login type can be selected, and where the login appears in the live event can be chosen. The live event can also be secured based on allowed IP addresses or address ranges.
Login Type
There are three login options:
- None – no login is required to view the live event.
- Login with custom password – A custom password that is set in the Password Access menu is required to view the live event.
- Login with MEDIAL security groups – Login is based on MEDIAL group membership. This is set in the Group Access menu.
Login appears before the…
In this menu the option to set where the login page appears can be chosen. There are three options:
- Pre-event 1 page – this will start to display the login box at the pre-event 1 page and on each sequential page selected during your event by either the director or the scheduler. In this case Pre-2, Live and Post.
- Per-event 2 page – will start to display the login box at the pre-event 2 page and on each sequential page selected during your event by either the director or the scheduler. In this case Live and Post.
- The actual live broadcast – this will start to display login box for the live broadcast itself and the Post event screen if used.
Restrict by IP address
Checking this box will restrict the live event access to only those clients whose IP addresses fall within the ranges specified in the table (found in the IP Address Ranges menu). IP address restriction only applies to clients attempting to view a live stream that is embedded outside of the MEDIAL portal.
Logging into MEDIAL will override any IP address restrictions.
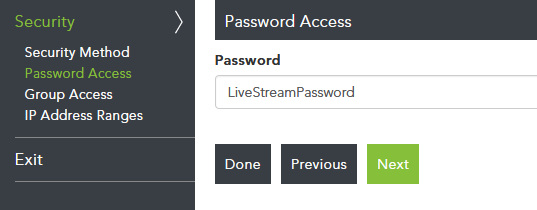
Password Access
In this menu the password can be set for the live stream if the log in with custom password option is being used.
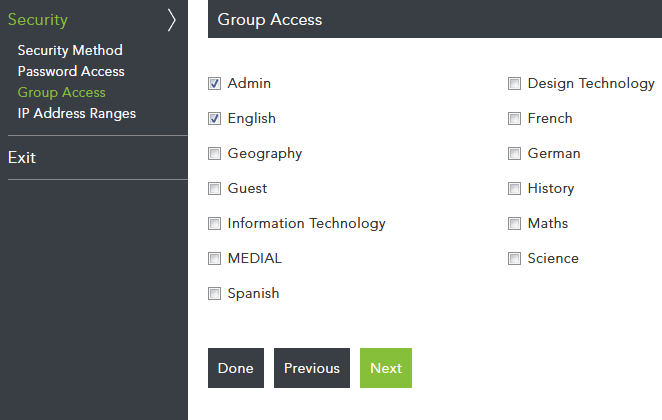
Group Access
This menu displays all the groups in MEDIAL. Checking the boxes next to the groups that the live channel is available for will allow users in those groups to see the live event when they log into MEDIAL.
IP Address Ranges
The IP address range table allows IP addresses and IP address ranges to be specified. Setting IP addresses and IP ranges here will allow only clients that fall within the ranges to see the live event if it is embedded outside of the MEDIAL portal.
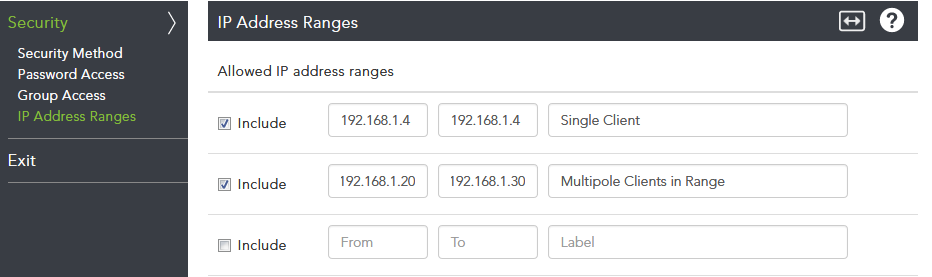
Ensure the check boxes next to the rules are checked in order for the rules to be active.
Exit
Click Exit to exit the live channel.

|
©2025 Streaming Ltd | |