Wowza Configuration
Set up Flash
Follow this procedure to set up Flash streaming in Wowza.
To set up Flash:
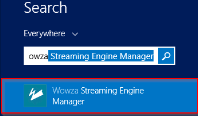
- Click the Windows icon on the desktop—
 .
. - Type Wowza.
-
Click Wowza Streaming Engine Manager.
-
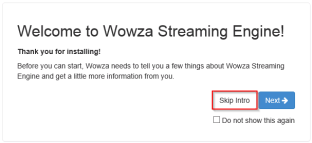
Skip the introduction.
-
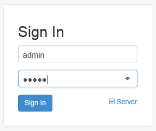
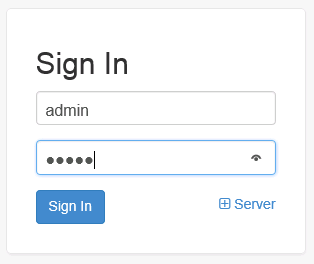
At the sign-in screen, enter the Wowza login credentials specified during the installation.
-
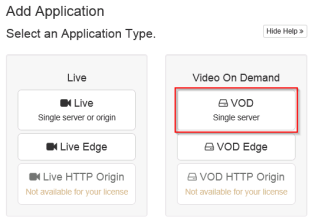
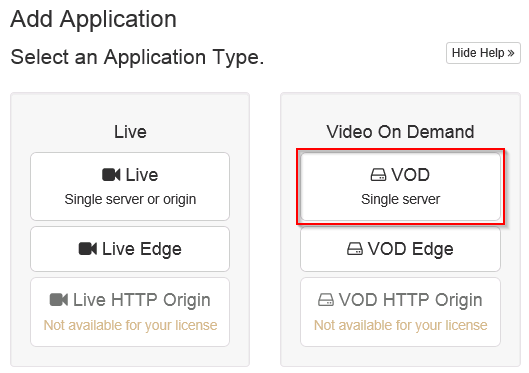
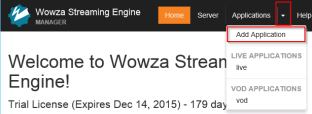
Click the drop-down arrow next to Applications and select Add Application.

-
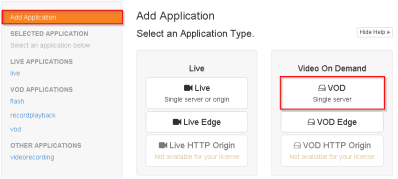
In the Video on Demand section, click VOD Single server
.
-
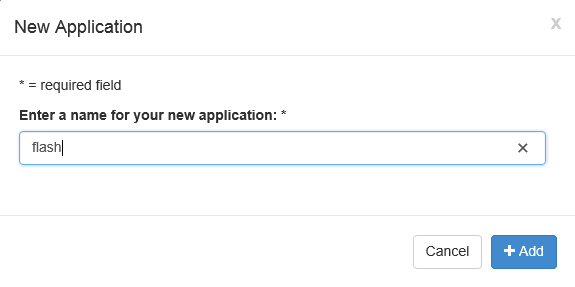
Call the new application flash, and click Add.

-
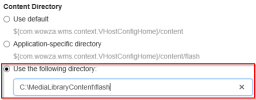
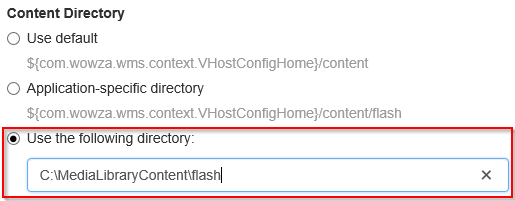
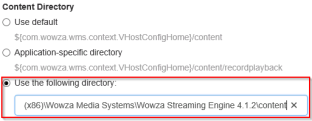
The configuration page for the flash application will load. Change the radio button for the content directory to Use the following directory.
-
If you have installed Wowza Media Server on the same machine that hosts MEDIAL, enter the full path to the MEDIAL flash folder.
-
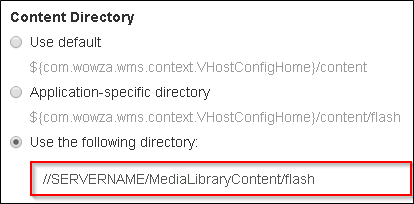
If you have installed Wowza Media Server on a network machine that does not host MEDIAL, enter the path to the MEDIAL Flash folder in the shared content directory. For example:
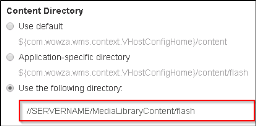
-
-
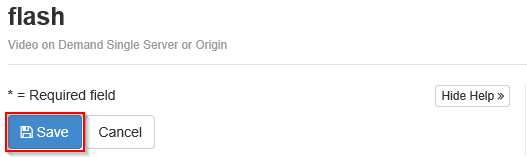
Click Save.


Enable Webcam Playback
To play webcam clips, you need to create an application for live recordings.
To enable webcam playback:
-
In the Wowza Streaming Engine Manager, click the arrow next to Applications and choose Add Application.
-
Choose VOD Single server.
-
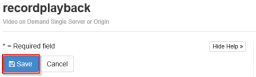
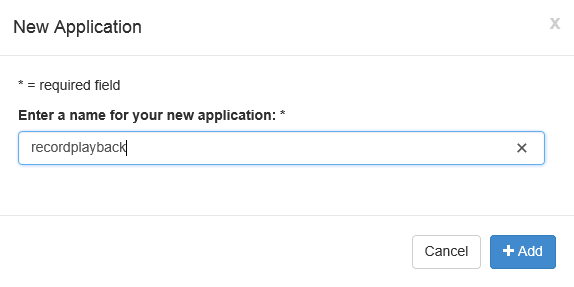
Name the application recordplayback. Click Add.

-
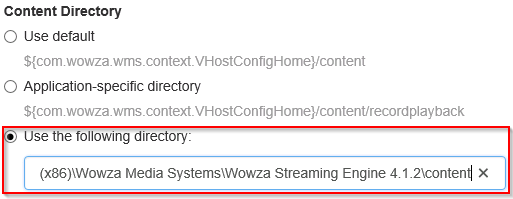
Change the content directory to Use the following directory. Enter the full path to the content folder within the Wowza installation directory.
-
Click Save at the top of the page.


Enable Webcam Recordings
To enable webcam recordings, carry out the following procedure.
To enable webcam recordings:
-
Navigate to the applications folder within the Wowza installation directory. for example:
C:\Program Files (x86)\Wowza Media Systems\Wowza Streaming Engine 4.1.2\applications
- Create a new folder called videorecording.
-
Navigate to the conf directory. For example:
C:\Program Files (x86)\Wowza Media Systems\Wowza Streaming Engine 4.1.2\conf
- Create a new folder called videorecording.
- Copy the Wowza-installation-directory/conf/Application.xml file to this new directory.
-
Edit the new copy of Application.xml file to make the following changes:
-
Set the Streams/StreamType property to:
<StreamType>record</StreamType>
-
Set Client/Access/StreamWriteAccess to the wildcard character (*):
<StreamWriteAccess>*</StreamWriteAccess>
-
-
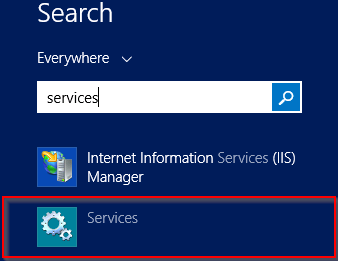
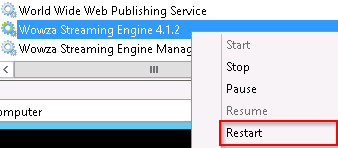
Restart the Wowza Streaming Engine Service by clicking the Windows icon in the bottom corner of the desktop, typing services and clicking Services.

-
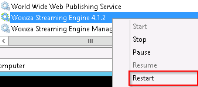
In Services, locate the Wowza Streaming Engine service called Wowza Streaming Engine, right-click it, and choose Restart.
Record Live Streams
To allow live streams to be archived in the media library, you must configure the Wowza Live application to record all incoming streams.
To record incoming streams:
-
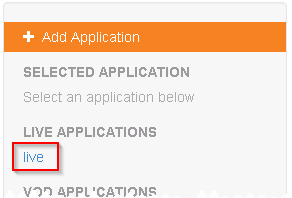
In the Wowza interface, click Applications.

-
Choose the live application on the left-hand side.
-
Click Edit.

-
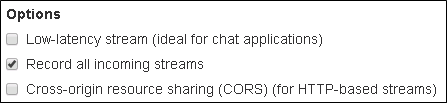
In the Options section, check the box to record all incoming streams.
-
Click Save.

-
At the top of the page, click Restart to restart the application.


|
©2025 Streaming Ltd | |