Content

See Managing Media for basic information about using the content feature.
Searching
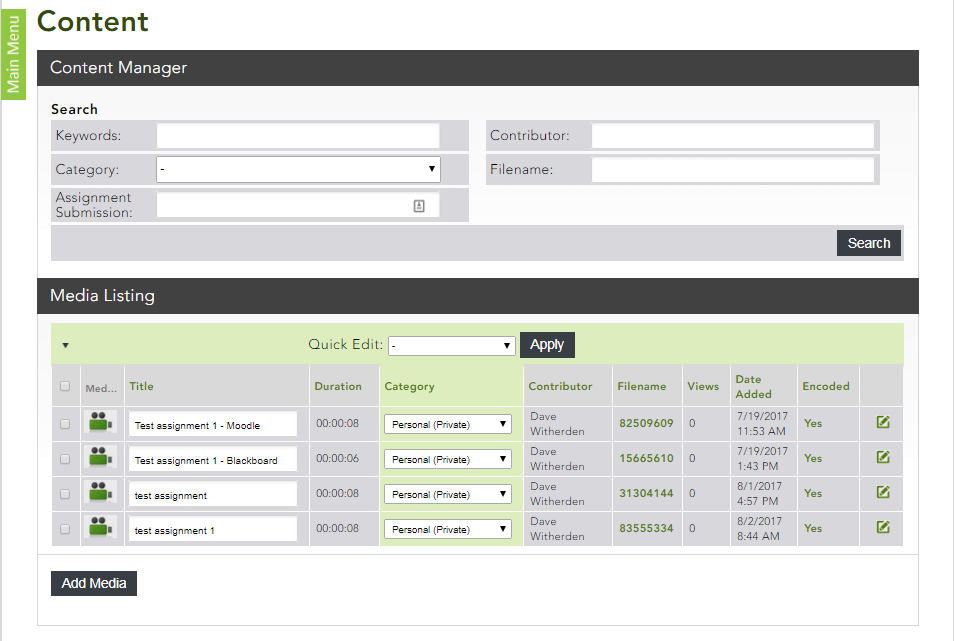
In the Content Manager area at the top of the content listing page, you can search for media items by specifying certain criteria:
- Keywords – Keywords return content that contains these words in the title, description or tags.
- Category – Selecting a category returns only the content from that category in the search results. Administrators see the silhouette of a head—
 —which allows a personal category to be selected for the search.
 -
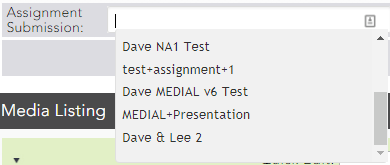
Assignment Submission – Clicking in the Assignment Submission box displays a drop-down box of assignment submissions. Clicking All and then clicking Search returns all content submitted as an assignment through an LTI plugin in a virtual learning environment.
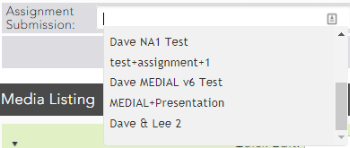
Clicking on the ‘-‘ at the top of the list and clicking Search resets the search criteria for all content instead of just assignment submissions.
- Contributor – Entering a contributors’ name returns results that contain clips uploaded by that contributor only.
- Filename – A file search returns clips that match the file name. You can specify a partial file name to return partial matches.

Media Listing
The media listing area shows the media items that a user has access to. Content is listed from newest to older. Click a column heading to sort the list by different criteria (ascending or descending) except for the Media Type column.
- Media Type – Displays either a music note or a camera to indicate whether the file is audio or video. Click the icon to play the media in a pop-out window.
- Title – Clip titles, which can be edited by typing into the field clicking the Apply button at the top of the media list. Click the Title column heading to order the content alphabetically by title. Click again to reverse the order.
- Duration – Each clip's duration. Clicking the Duration column heading sorts the clips by the shortest to longest duration. Clicking again reverses the sort order, showing longest clips at the top.
-
Category – Which category each clip resides in. Click on the category drop-down box to change the category. Click Apply at the top of the media listing to move the clip to the new category.
Click the silhouette of a head to select a personal category. You can also use this feature to move items from one personal category to another.
The Quick Edits feature allows you to select multiple media items by checking the item boxes in the left column. Change the category for all items using the Quick Edits drop-down and clicking Apply.

- Contributor – The user who uploaded the file. If the file was uploaded by a lecturer or student through a plugin using LTI, this is displayed in brackets below the contributor name. Clicking on the column heading sorts media by contributor name alphabetically. Clicking again sorts in the reverse order.
- Filename – A unique 8-digit number. When archiving is enabled, the name is a green hyperlink. Right-clicking the name and clicking Save As downloads the original file. The content can be sorted by ascending or descending file names by clicking the column heading.
- Views – This displays the number of times a clip has been viewed. Clicking the column heading sorts the media by the number of times it has been viewed.
- Date Added – This is the date and time the clip was uploaded. Click the column heading to sort from oldest to newest or vice versa.
-
Encoded – This column indicates if the clip has been encoded. If encoding is in progress, the percentage of completion displays.
Click the column heading to list the clips that haven’t been encoded.
- Edit icon – Click the edit icon in the last column to edit or replace the media item.

Deleting Items
The delete function at the bottom of the media listing area allows you to delete media items if you have appropriate permission. A star next to the check box denotes that you have permission to delete a clip. To delete clips, check the item boxes and click Delete selected media.

To delete any associated files that have been uploaded along with the clips, check the Include associated files in delete box.
Moving Items into Personal Categories
Administrators can upload and move content into any of the personal categories on the system. On your content screen, you will see the small silhouette image— —next to the category drop-down.
The same personal category icon appears in the upload wizard for administrators, allowing an administrator to upload content into a user’s personal category.
Personal Account Screen
To move content into a personal category, first check the boxes for the media items to move. Then click the silhouette icon. A personal category listing like the following appears.
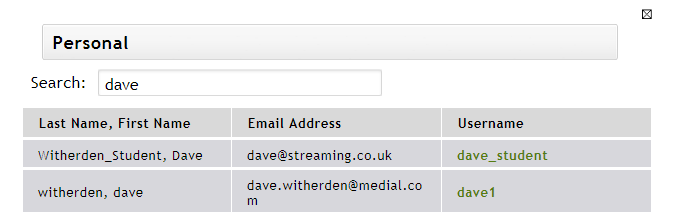
If there are many personal categories, use the search box at the top of the screen to narrow the results.
User Names
Click the user name to move the selected content into that user's personal categories. Users names display as one of the following:
- the user name if they are logging in with their MEDIAL account or AD/LDAP account if directory services have been integrated with MEDIAL.
- _LTI_useremail if they have been authenticated through LTI using Moodle or Blackboard.

|
©2025 Streaming Ltd | |