Blackboard Ultra Configuration
The following article explains how to configure the MEDIAL LTI tool in Blackboard Ultra and use it as an instructor and student.
Setting up the MEDIALLTI Tool
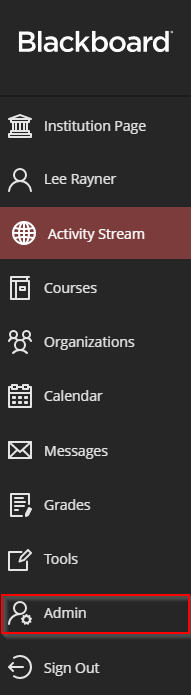
Log into Blackboard as an administrator and click on Admin.
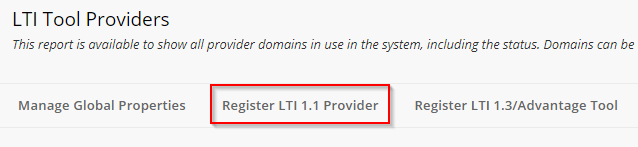
Under Integrations click on LTI Tool Providers.

Click on Register LTI 1.1 Provider.
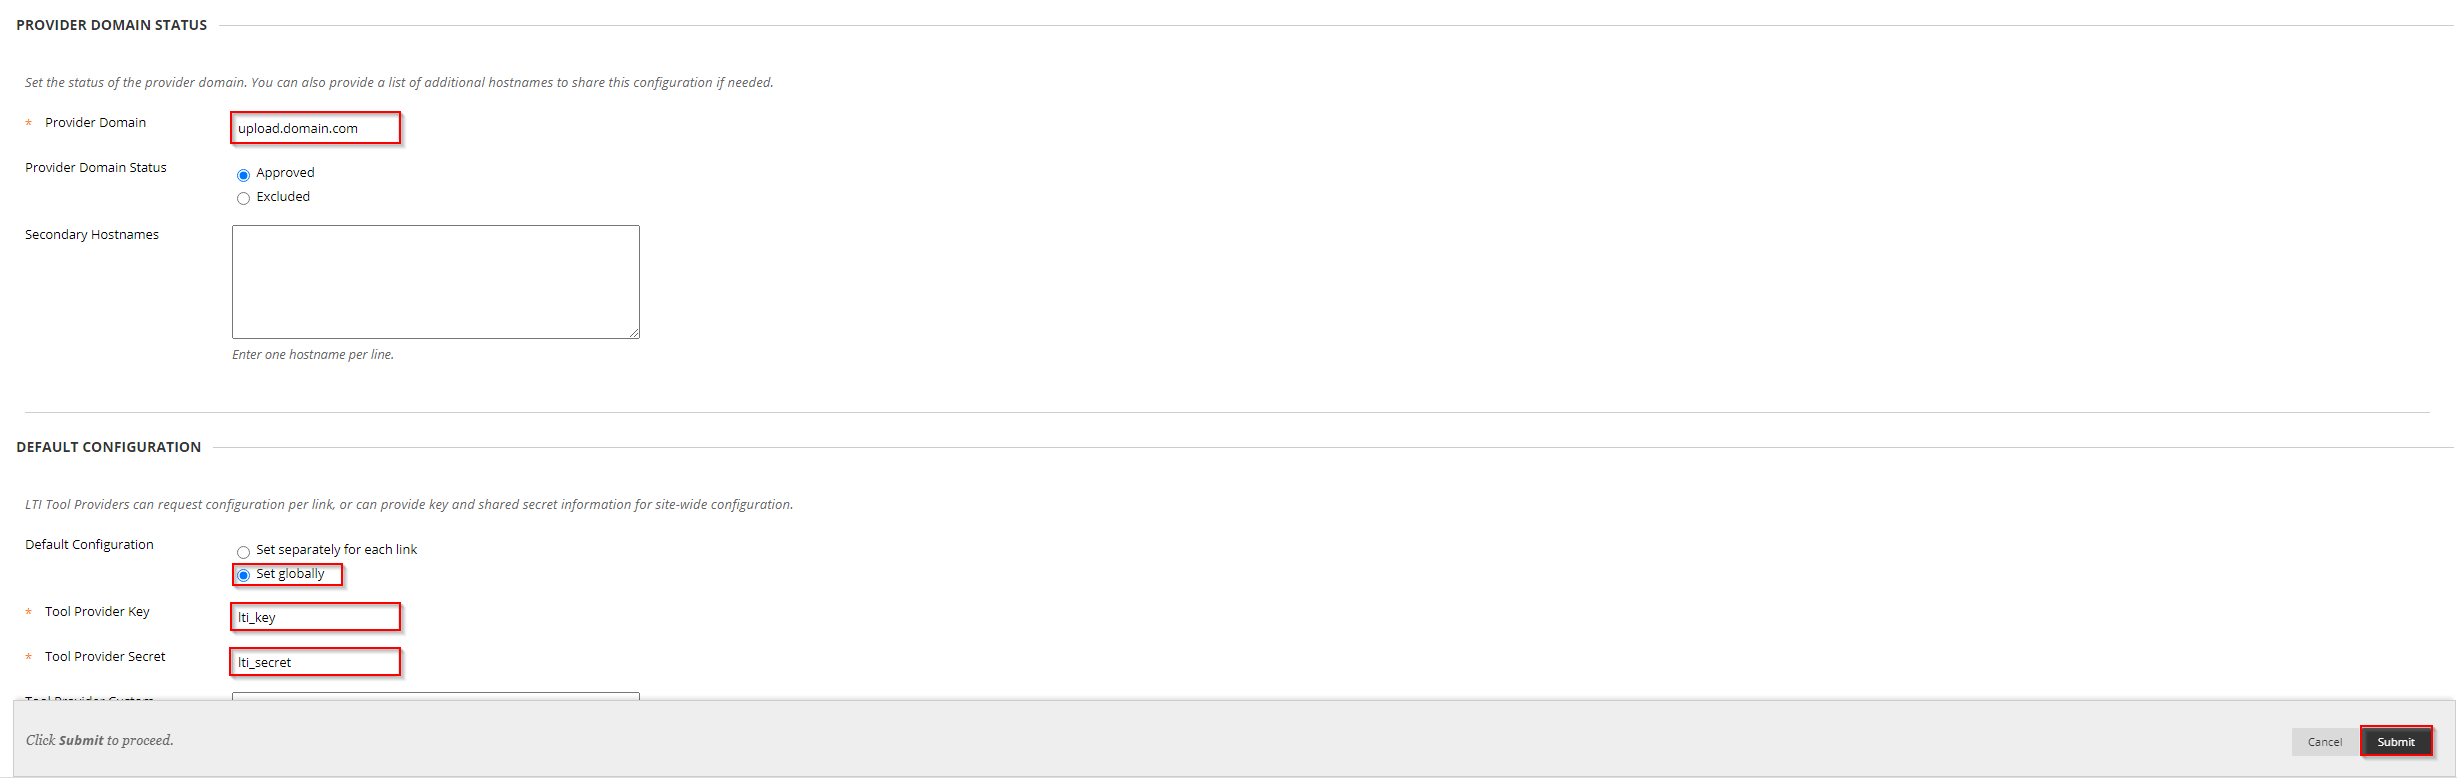
Under the Provider Domain Status area enter the host name of the MEDIAL upload site, without the protocol at the start, i.e. upload.domain.com. Under Default Configuration select the 'Set globally' radio button and enter the LTI key and secret taken from the MEDIAL Learning Tools Interoperability area. Click on Save.
The LTI Key and Secret for MEDIAL can be found in the back end/upload site in MEDIAL. Log in as an administrator and in the admin menu click on Security, and then Learning Tools Interoperability to locate the key and secret, or create them if they are not already present. 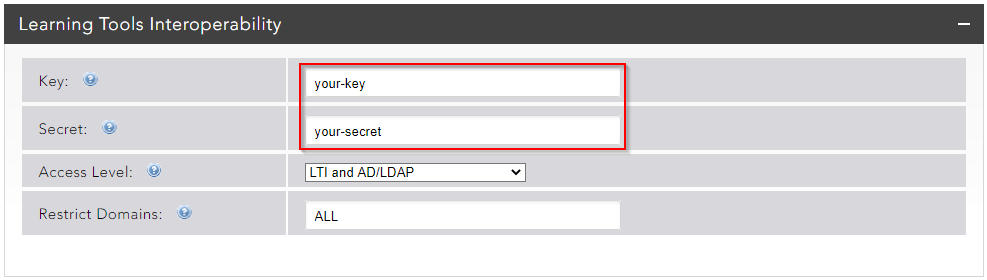
Locate your LTI Tool from the list. Click the drop-down arrow next to it and click on Manage Placements.

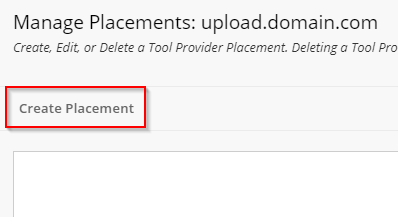
Click on Create Placement.
On the Placement Information screen give the placement a name in the Label field. In the example below this starts with an underscore to make it appear at the top of the providers list when creating content, however this isn't necessary.
Make the Handle name the same as the label and set the availability to Yes. Under the Deep Linking content tool radio button, check the 'Allow student access' button.

In the logo section, download and use the logo stored at the following address:
https://medial-static.s3.eu-west-2.amazonaws.com/medialapp_bbultra_50x50.png

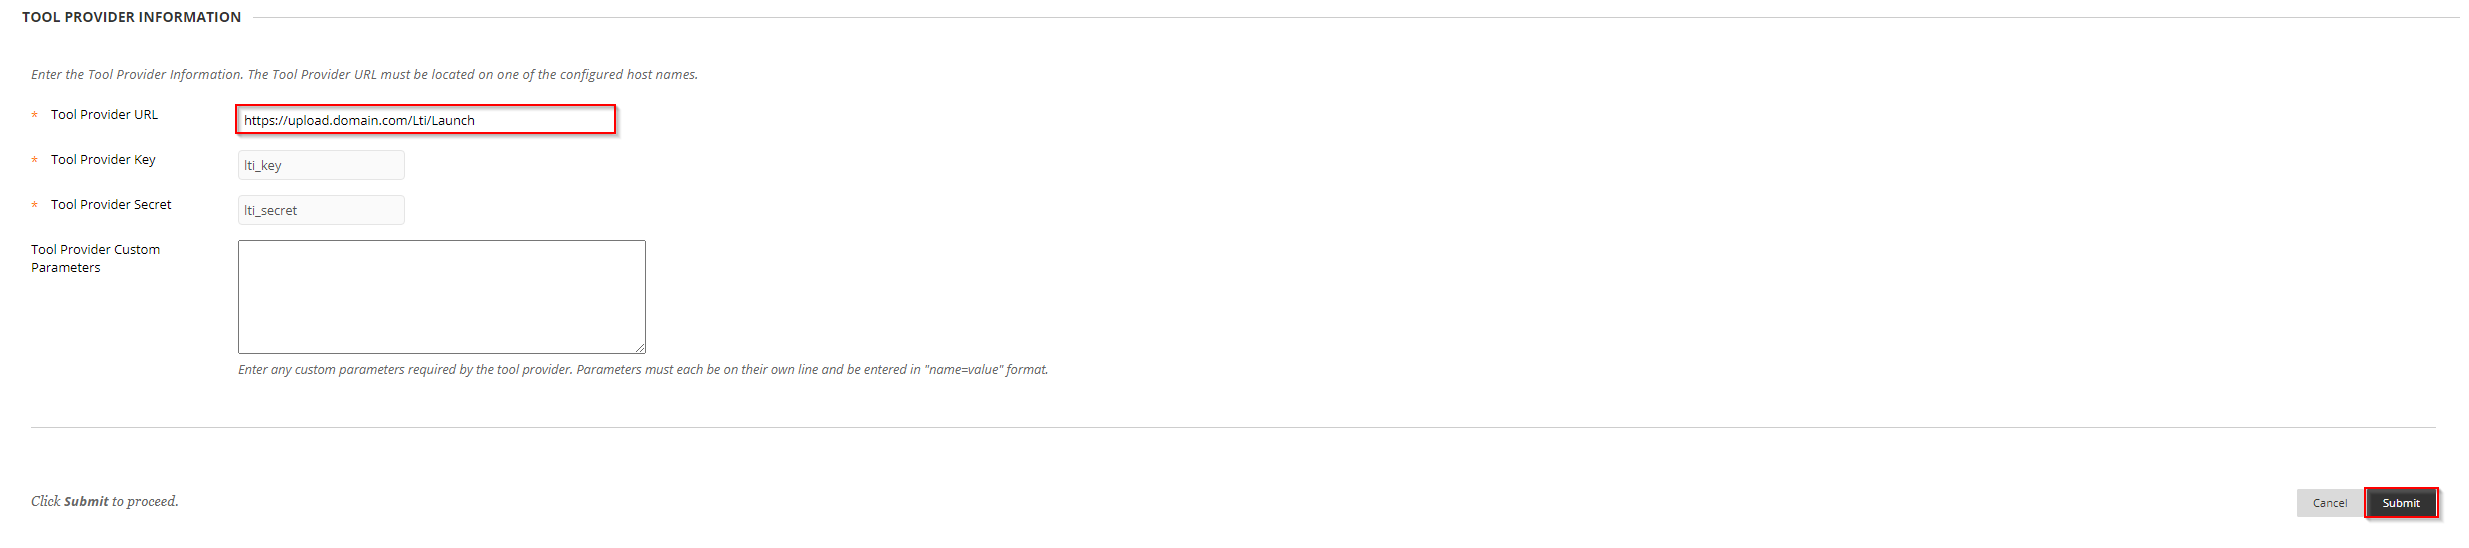
In the Tool Provider Information area enter in the full URL to your MEDIAL upload site including '/Lti/Launch' at the end, i.e. https://upload.domain.com/Lti/Launch. Click on Submit.
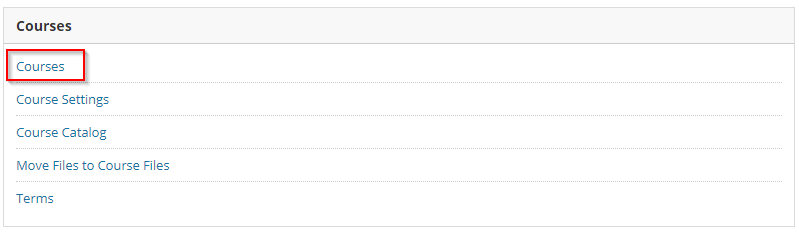
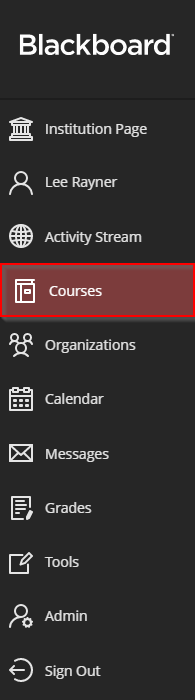
In the admin area click on Courses under the Courses heading.
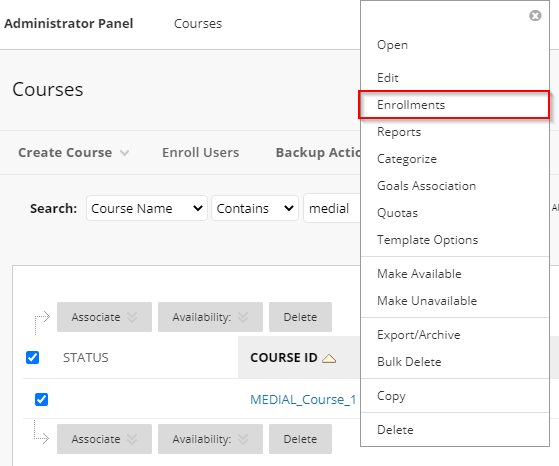
Select the drop-down arrow next to the course you would like to enroll users on and click Enrollments.
Click on Browse to browse a list of users.
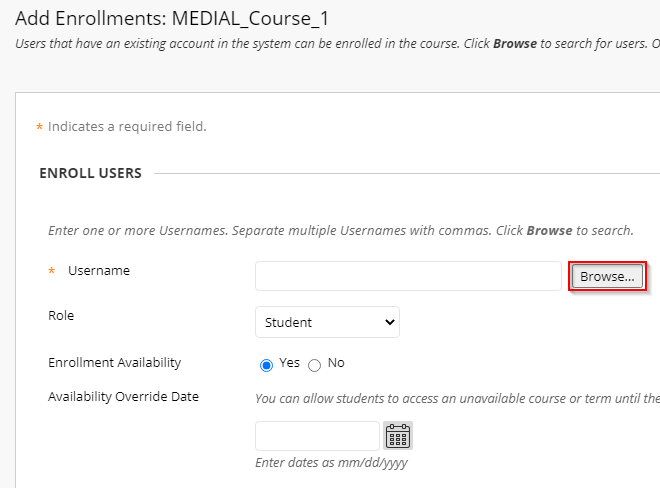
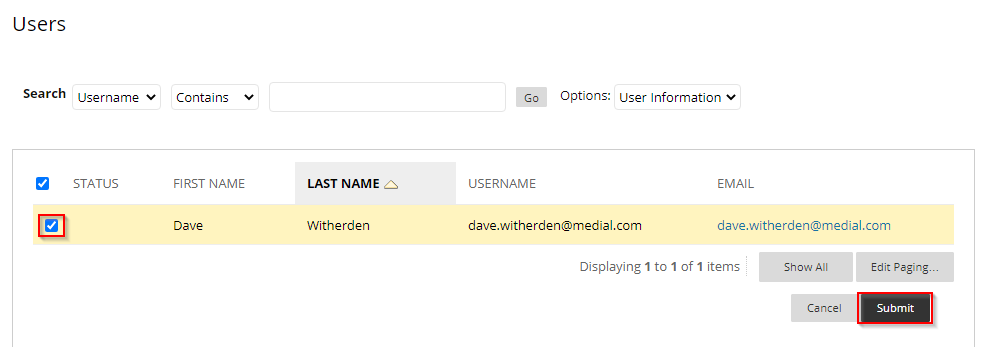
Search for the users you would like to enroll and check the button next to their name on the left-hand side to select them. Click Submit.
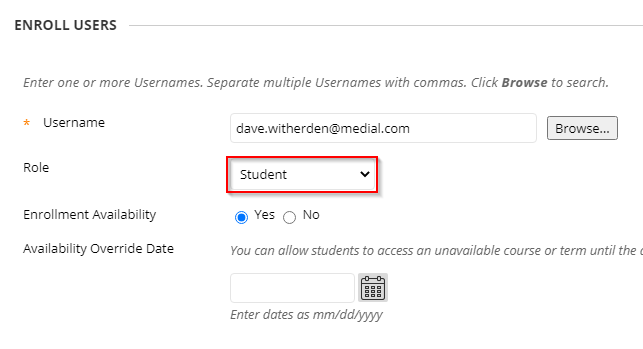
At the next screen select the role of the user from the drop-down box and click Submit.
Once all of the users have been enrolled as either instructors or students, the LTI tool is ready to be used.
Creating Content in a Course as an Instructor
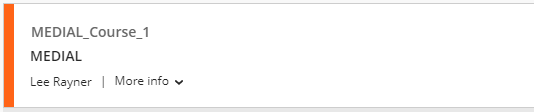
Log into Blackboard Ultra as an instructor. Click on Courses from the menu.
Select the course from the available courses.
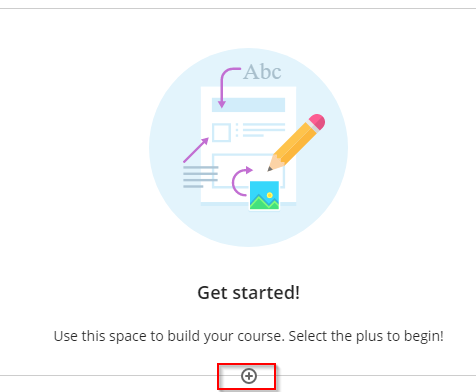
Inside the course select the plus button to begin creating content.
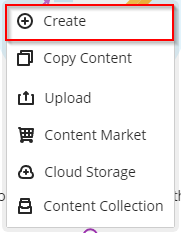
Click on Create from the menu.
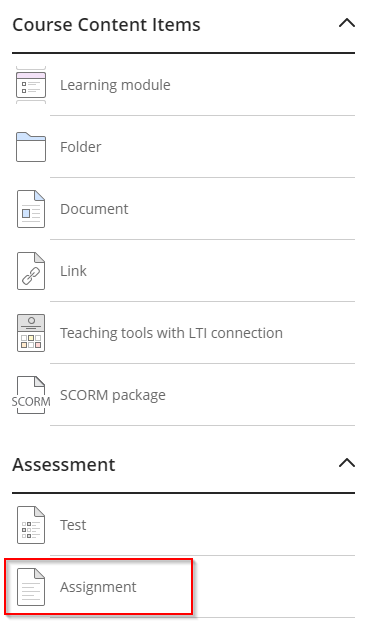
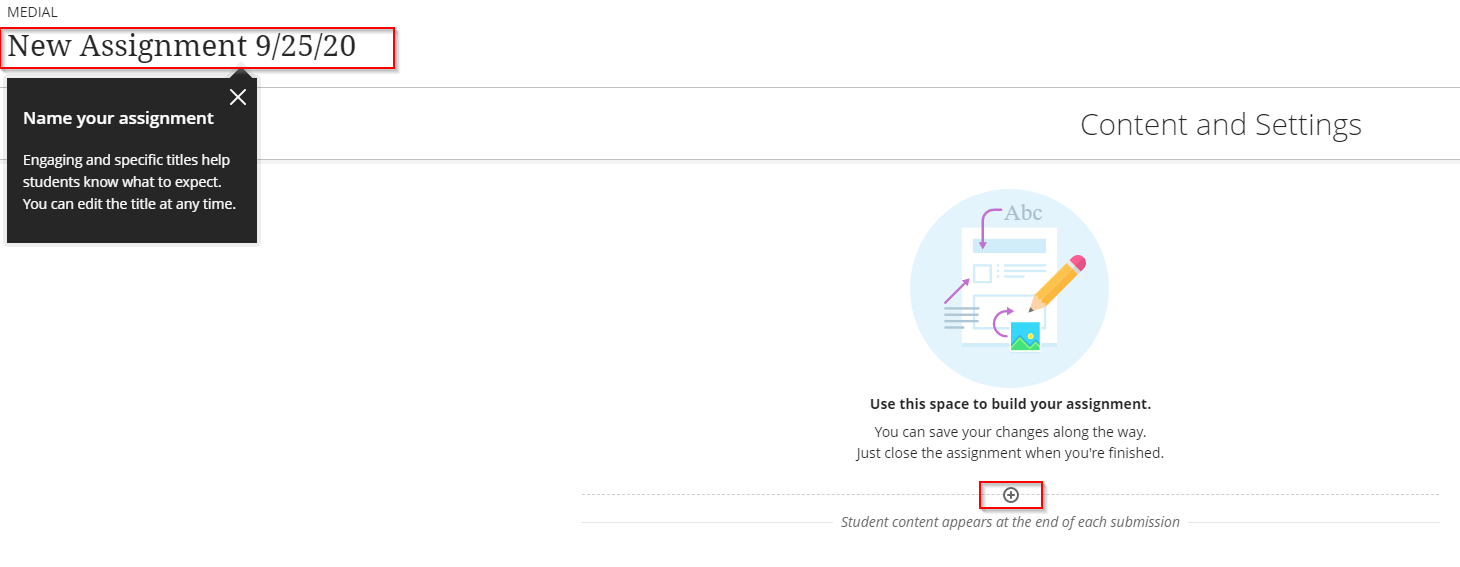
Click on Assignment.
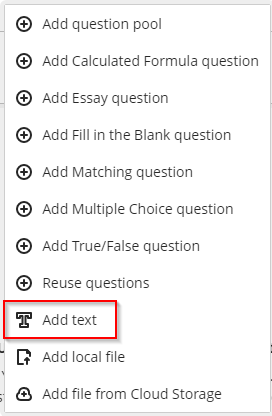
Give the assignment a name and then click on the plus button.
In the menu that appears click on Add text.
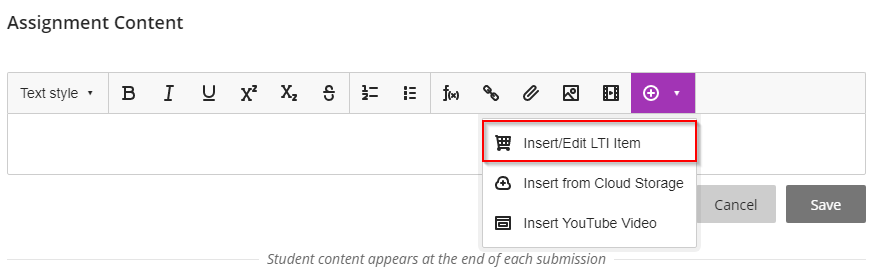
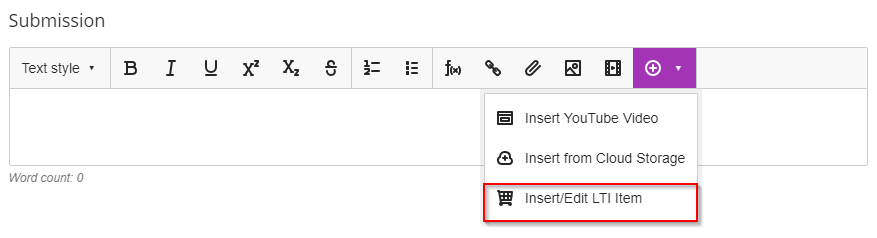
In the text editor click on the plus drop-down button, and then select Insert/Edit LTI Item.
Locate and select the LTI tool created earlier.

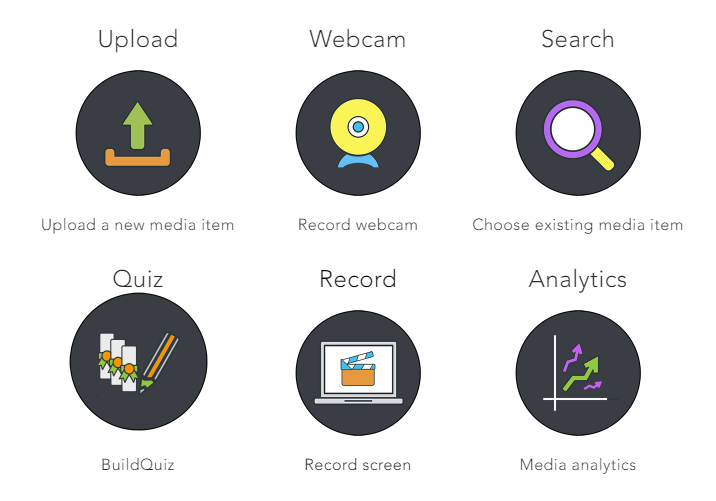
Proceed as normal and complete the process selecting an option from the MEDIAL LTI tool.
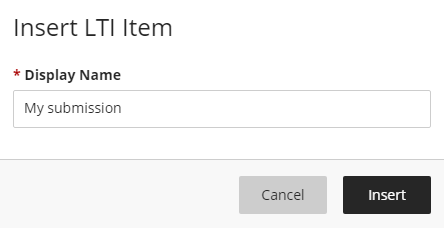
In the pop-up window that appears give the clip a name and click Insert, then click Save under the text editor.
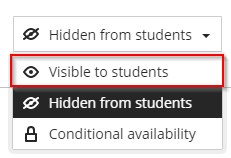
In the top right-hand corner of the screen click on the drop-down box and select 'Visible to students'
Exit out of the course.
Submitting an Assignment Response as a student
Log into Blackboard Ultra as a student. Click on Courses from the menu on the left-hand side.
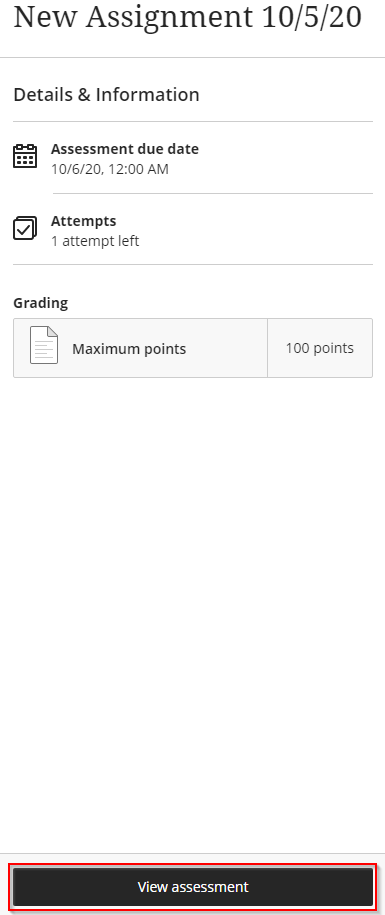
In the course select the assignment from the Course Content list. Click on View Assignment.
After viewing the assignment click on Add Content below.

In the text editor window click on the plus drop-down button and select Insert/LTI Item.
Click on the MEDIAL LTI tool.
Proceed as normal and complete the process selecting an option from the MEDIAL LTI tool.
In the pop-up window that appears give the clip a name and click Insert.
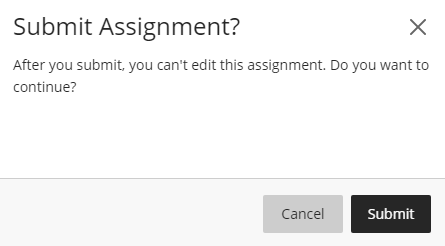
Click on Submit to submit the assignment.

Confirm the submission by clicking on Submit again on the next screen.
Viewing and Grading the Submission as an Instructor
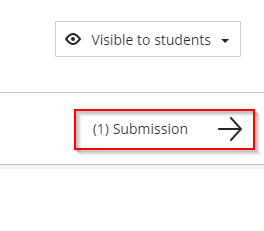
Log into Blackboard as an instructor and click on Courses from the menu on the left-hand side. Open the Assignment and then click on the Submission(s) button in the top-right hand corner.
Click on the name of the student who's content is to be viewed and graded.
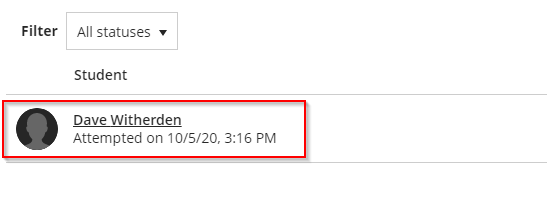
View the submission and then enter in a grade.

Once the grade has been entered click on Post to submit it.

At the Post Grade confirmation screen click on Post Grade.


|
©2025 Streaming Ltd | |