Moodle Plugin
The Moodle plugin can be used to create a video assignment for a course in Moodle, allow a student to submit video feedback to the assignment, and to allow an instructor to view and grade the assignment.
The Moodle plugin also contains the Activity module, which allows content to be submitted into a course outside of an assignment. This is discussed further down this article.
Create an Assignment (Instructor)
Log onto Moodle as an instructor and go to the courses area. Enable editing for the course and then click on Add an activity or resource.

Click on Assignment, and then click Add.
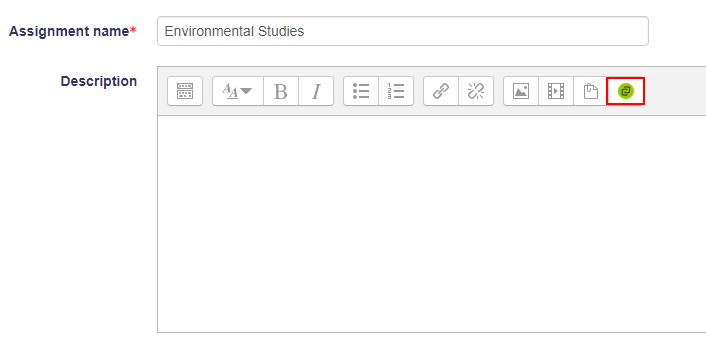
Provide a title for the assignment and click on the MEDIAL icon in the rich text editor.
The first time the plugin is used it will prompt for credentials if AD/LDAP integration or local accounts are being used. If LTI is being used as the authentication method it will automatically register the user. If AD/LDAP/local accounts and LTI is being used for the authentication methods, it will present the option to either sign in or register. For more information on LTI authentication and how it works with the plugin, see LTI Authentication Types in the Security topic. The following example shows the login prompt seen when AD/LDAP and/or local accounts are used.
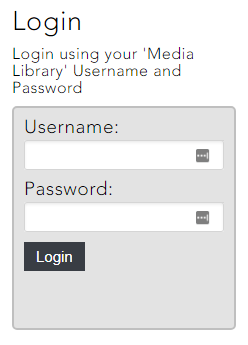
The general rule when being presented with a choice between logging on and registering is that if you have logged into the MEDIAL portal before then use your AD/LDAP or local account. If you have never logged onto the MEDIAL portal before or don't have access to then choose Register.
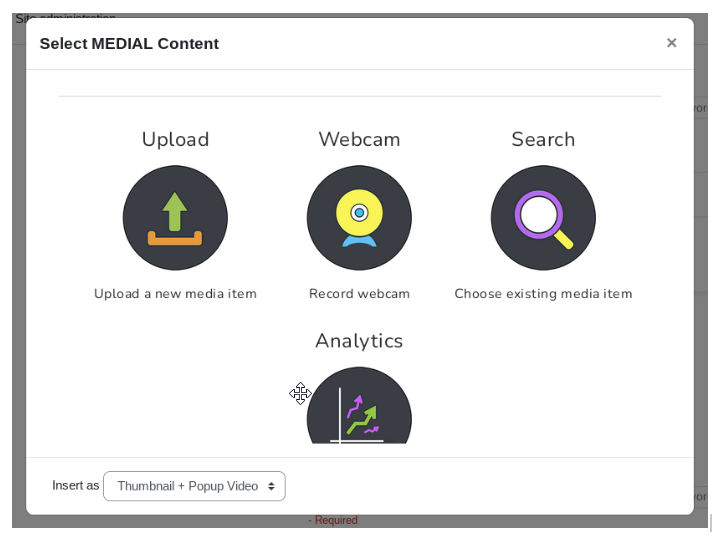
The plugin window will open, containing several options: Upload, Webcam, Search, Record and Analytics.
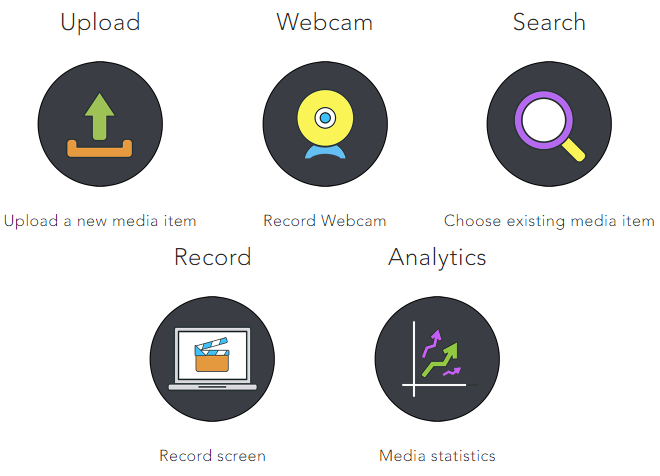
The Record button will only be present if MEDIAL is licensed for MEDIALecture. For more information on licensing contact your Sales representative.
- To upload a file click on Upload. To upload a webcam recording click Webcam, and to search for a clip already in MEDIAL click Search. For more information on how to upload content and carry out a webcam recording see the Uploading Media topic.
- If MEDIALecture is licensed on the system, click on Record to launch MEDIALecture and carry out a screen recording. For more information on using MEDIALecture, see the Using MEDIALecture topic.
- To view analytics for content that you have access to click on Analytics. For information how to use the Analytics area, see the Analytics topic.
When using the plugin to upload a clip, do a webcam recording or search for a clip, the bar at the top can be used to switch between those options without having to go back to the main menu. The current choice is highlighted in green.

Expand the headings below for information on how to use each option.
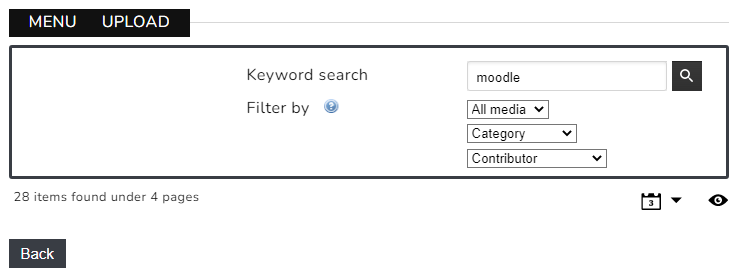
When searching for a clip the search window appears. It allows a keyword or keywords to be entered, or the filter drop-down boxes can be used to narrow down the results. Click on Keyword search / Filter by to search for content.

Use the drop-down boxes to refine the search.
The results are paginated, and can be skipped through using the arrow buttons or by clicking on the numbers. When the desired clip is found, click Selectnext to it. It can be previewed by clicking on the play button.
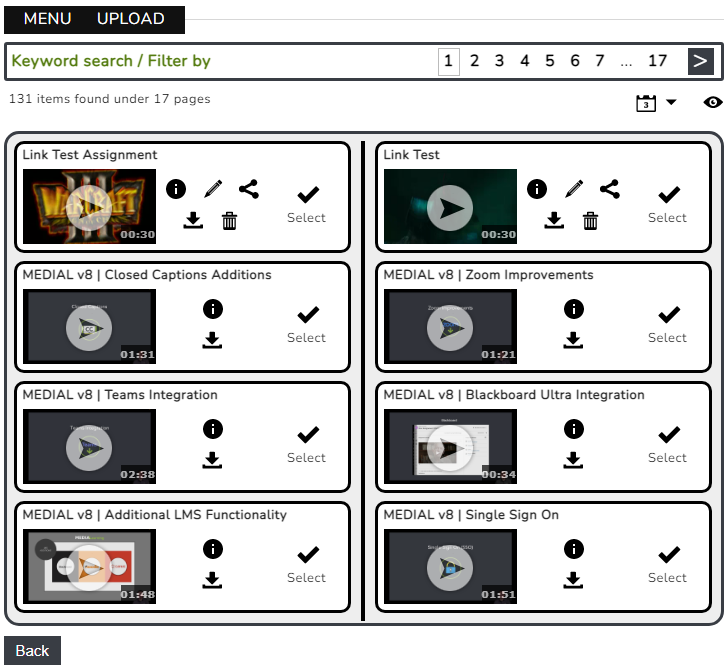
For each clip in the results there are also some icons which perform various actions:
-
Information: The 'i' icon will show information about the clip when hovered over
-
Download: When downloading of content is enabled, the down arrow icon will allow the clip to be downloaded
-
Edit: For content that belongs to the user, the pencil icon allows editing of the media item
-
Delete: For content belonging to the user, the trash can icon allows the user to delete the item
-
Share: For content belonging to the user, the share icon allows it to be shared
When sharing the content, it must have public access enabled. Clicking on the share icon allows public access to be granted for the clip, and by default presents a link to it in the /player/ page in MEDIAL.
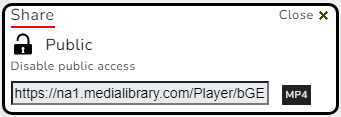
The link can be copied and shared with users who should have access to the clip.
Next to the URL is an 'MP4' button. When clicked this presents a download URL for the clip.
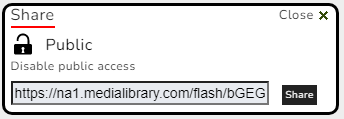
The button then changes to 'Share', allowing the user to toggle back to the share URL.
Once the clip has been selected, it can be edited if the user uploading it has permission to do so, and a download link can be included if desired.

Click on Next to complete the process. A 'Finished!' screen will briefly appear, then automatically close and the clip will appear in the assignment text editor.
When carrying out a screen recoding using MEDIALecture, carry out the recording as normal and submit it. Instructions on using MEDIALecture in Moodle can be found in the following topic: Using MEDIALecture In The LMS.
The analytics area presents analytics for all of the users clips. They will be able to see information such as number of views and viewer engagement for content they have uploaded. When using this feature it is for information purposes only, and no content is added to the assignment. Content can be uploaded by navigating back to the main menu and choosing one of the other options, or the mashup window can be closed to exit without submitting content to the assignment.
Once a piece of content has been submitted into the assignment, configure any other settings for the assignment as normal and click Save.
Submit an Assignment Response (Student)
Log into Moodle as a student and navigate to the course where the assignment is. Open the assignment, click on the clip to view it, and either register or log in as required. To submit a video response, click Add submission under the clip in the assignment.
Click on the Add Media button.

Select an option from the pop-up window. Record will only be present if MEDIAL is licensed for MEDIALecture.
Submit the upload, recording or search for a clip as described above. Complete the assignment and submit it by clicking Save changes.
Submit Video Feedback to an Assignment Response (Instructor)
Log into Moodle as an instructor and open the grading area for the course. To view the students' response click on View Submission.

To submit a video response for the grade click on the Grade button.

Click on the Add Media button.
Select an option from the pop-up window. Record will only be present if MEDIAL is licensed for MEDIALecture.
Complete the process and finish grading the assignment. Click on Save changes to complete grading the assignment and submit the video feedback.
Using the Activity Plugin
With the MEDIAL moodle plugin set there is also an Activity plugin which allows content to be embedded into a course outside of an assignment.
When using the Activity plugin, duplicating an item is not supported. If a MEDIAL Activity is duplicated, it will change the underlying LTI link and also change the original to be the same as the new duplicated item.
To add a new MEDIAL activity, click on Add an activity or resource.
Click on MEDIAL.

Fill out the Title and Summary fields as appropriate and click on the Add Media button.
Follow the process as described earlier in this topic to search for or upload a new Activity.
Granting Students and Other Less Privileged Users the Ability to use ATTO/Tiny MCE in Specific Activity Types
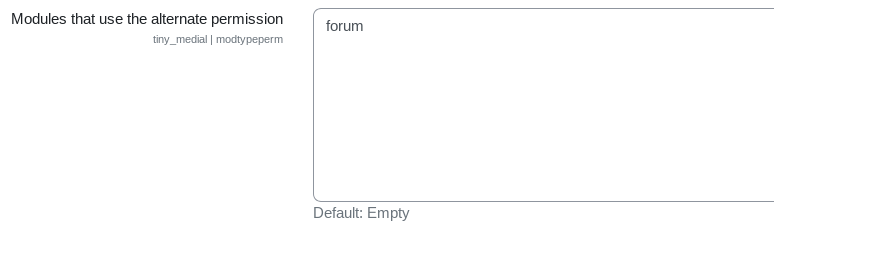
In some cases it may be desirable for students to be able to post videos into forums and other activity types. Visibility of the buttons is normally controlled by the tiny/medial:visible and atto/helixatto:visible permissions. Students could simply be given this permission to enable the use of these plugins in the text editor, however, this would give them permission to use it everywhere that they have access to the text editor. It is therefore possible to enable use of the plugin in specific activity types only (typically the forum). To allow for this there are two alternative permissions, which students have enabled by default: tiny/medial:visiblemodtype and atto/helixatto:visiblemodtype. Activity modules can be individually reassigned in the TinyMCE and ATTO configuration to use this permission to determine access to the MEDIAL button instead of the normal one. By default, there are no activity modules enabled for this permission. To enable them, go to Site Admin>Plugins>Text Editors and then either ATTO or TinyMCE Editor and choose MEDIAL. In the "Modules that use the alternate permission" box enter the Moodle component name of the Activity module, without the _mod prefix, one entry per line:
Embed Options - ATTO and TinyMCE Editor
These options allow a user to choose how a video will be displayed on the page. Instead of having all videos displayed in an embedded iframe, this will provide the user with the option to have an embedded thumbnail or a link that will open a popup dialogue that contains the video. This is useful if an instructor wishes to place a large number of videos on the same page, which will significantly degrade the page load performance if they are all added to the page as embedded iframes. Using the popup means the videos only load on demand. To enable this feature, go to Site Admin>Plugins>Text Editors and then either ATTO or TinyMCE Editor and choose MEDIAL. Within the settings, set the Enable embedding options to true:

With this on, an additional drop down will show at the bottom of the insert media dialogue:
MEDIAL Library Browse Button
To allow browsing of content within MEDIAL from a Moodle course page, the MEDIAL Library button, or link, can be added to appear in a course. To do this:
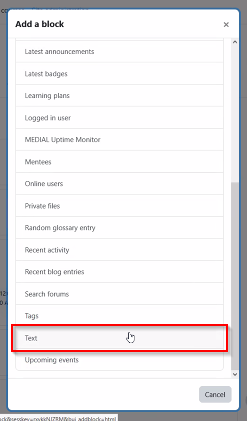
Start by turning Edit mode on, and then add a new text block.
This might be hidden by default. If it is, expand it using the arrow on the right-hand side of the course window.


Select Text.
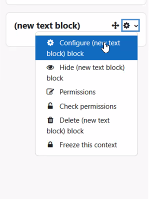
Click on Configure (new text block) block
Click on Insert MEDIAL Library Button and click Save changes.
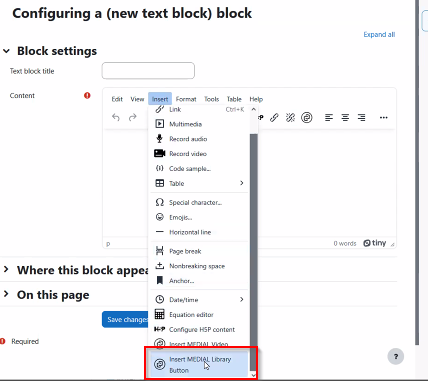
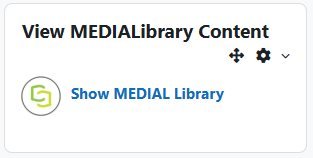
In the block area you will now see the 'Show MEDIAL Library' block, allowing for content to be searched for within MEDIAL.

|
©2025 Streaming Ltd | |