Server Preparation
Define Roles and Features
Follow the steps in this section to define installation roles and features on each server that runs an instance of MEDIAL.
To define roles and features for MEDIAL:
-
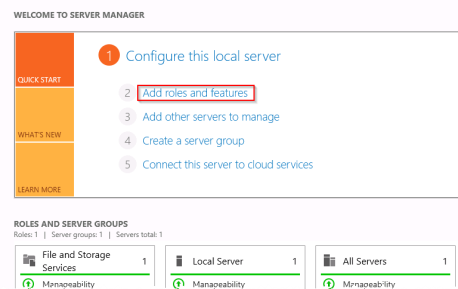
Open Server Manager by clicking the icon next to the Windows logo on the taskbar.

-
On the welcome screen, click Add roles and features.
-
At the Before you begin screen, click Next.

- At the next screen, leave the radio button for Role-based or feature-based installation set as-is and click Next.
-
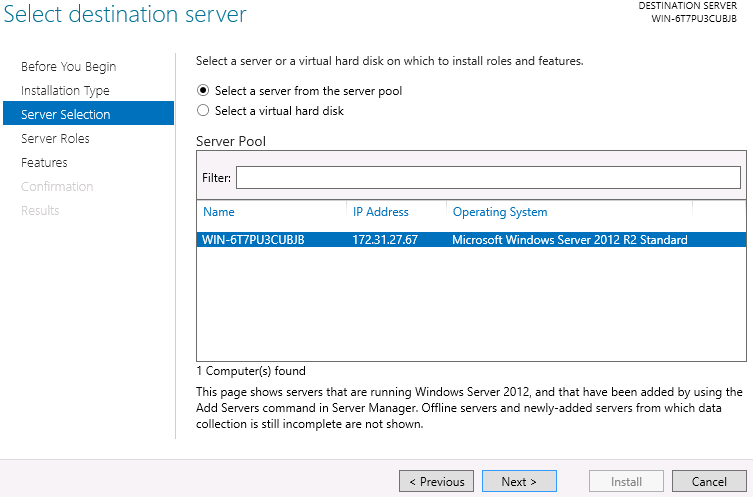
Leave the current server selected and click Next.

-
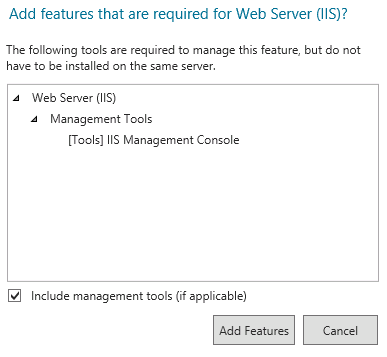
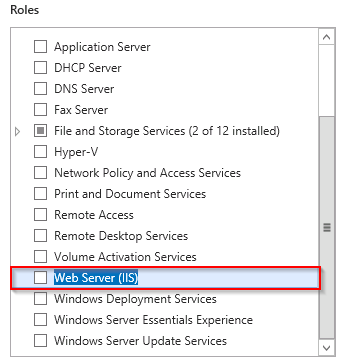
From the list of Roles, check the Web Server (IIS) role.

-
In the window that appears, ensure that the box for Include management tools is checked and click Add Features.
-
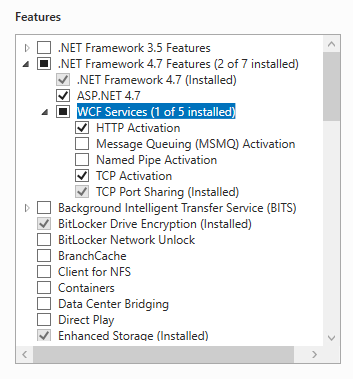
On the Select Features screen, check the box to add .NET Framework 4.7 features. Expand the .NET Framework 4.7 Features section and check the box for ASP.NET 4.7. Expand the
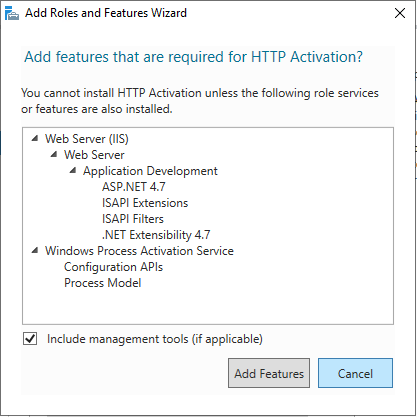
WCF Servicesarea and check theHTTP Activationbox. Click On Add Features on the next window that appears.
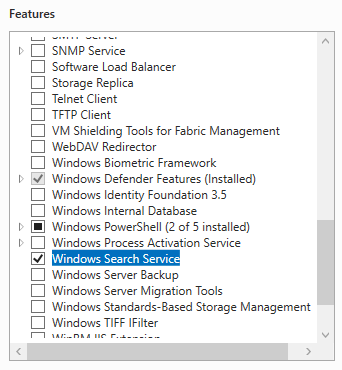
Scroll down and check the Media Foundation box.

-
Check the box to add the Windows Search Service and clickNext.

-
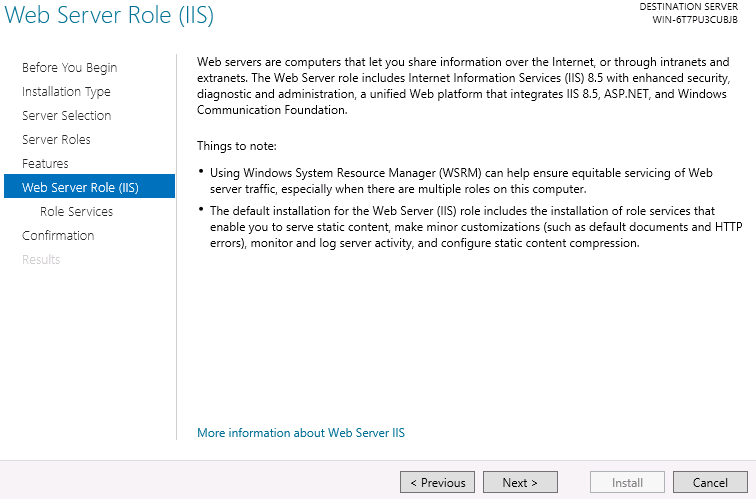
Click Next on the Web Server Role (IIS) screen.

-
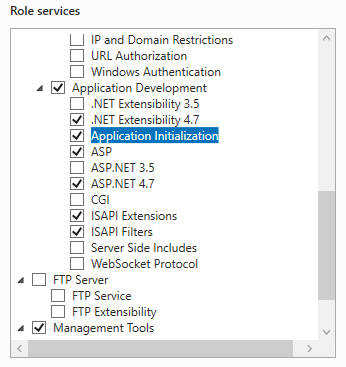
At the Select role services screen, scroll down and check the Application Development box. Expand the list and check the roles within it shown below, agreeing to any sub-roles when prompted. Click Next.
-
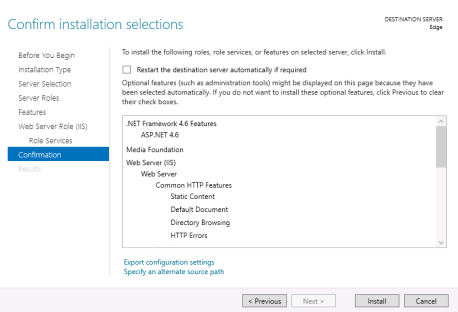
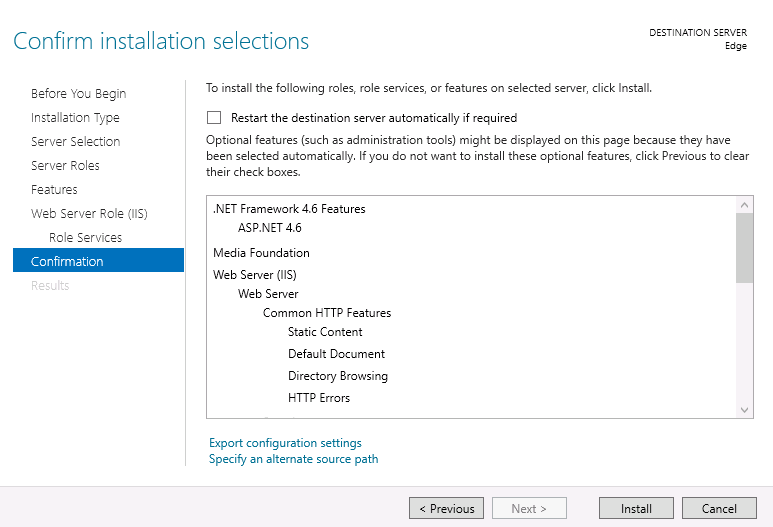
Click Install.


Add Network Addresses
On the MEDIAL machine, the additional IP addresses required by MEDIAL need to be added to the network card.
To add network addresses:
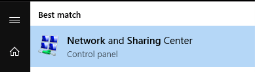
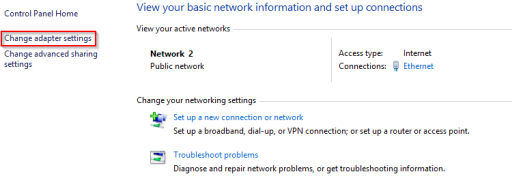
- Open the Network and Sharing Center by clicking on the Windows logo—
 .
. - Type network and sharing center.
-
Click Network and Sharing Center.
-
Click Change adapter settings.
-
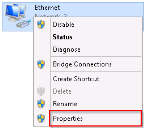
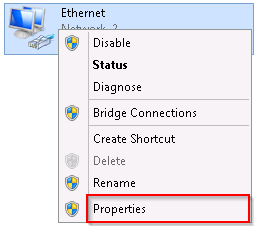
Right-click the network card to add the addresses to and select Properties.
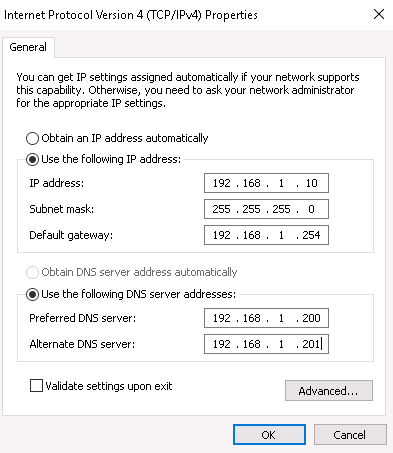
- Click Internet Protocol Version 4 and select Properties.
-
Click Advanced.

-
Click Add… and specify the additional IP address and subnet mask.
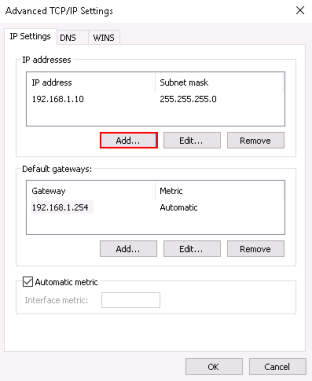
- Repeat Step through Step to add another address as necessary.
- Close all windows by clicking OK.


Bind IP Addresses
By default, Internet Information Services listens on all available IP Addresses. To avoid port conflict with Wowza Media Server, the IP address that will be used for the MEDIAL websites (front-end and back-end) need to be bound to IIS.
-
Open a command prompt with administrative privileges. Run the following commands in the order they appear. In the example below 2 IP addresses are being bound to IIS; one for the front-end and one for the back-end MEDIAL sites. With Windows Server 2012, the local loopback address (127.0.0.1) must also be bound to IIS.
Netsh http add iplisten ipaddress=x.x.x.1
Netsh http add iplisten ipaddress=x.x.x.2
Netsh http add iplisten ipaddress-127.0.0.1
-
Restart IIS by issuing the following commands:
net stop http /y
net start http
net start w3svc
Perform the MEDIAL Installation
After you have carried out all of the necessary preparation steps, you can install MEDIAL and its related software according to the instructions in the Installation section, beginning with the topic SQL Server Installation.

|
©2025 Streaming Ltd | |