Encoder Installation
Install a Standalone Encoder
You can install separate transcoding instances using the MEDIAL installer. Each separate instance requires a license. If you plan to use an existing MEDIAL license, it must be enabled for multiple transcoders.
Because features such as a shared content directory need to be configured before you install standalone encoders, it is easier to complete the rest of the MEDIAL installation and configuration before adding additional encoding instances.
For licensing information, refer to your MEDIAL representative. A separate server is required for each additional transcoding instance. For hardware specifications, refer to Transcoder Instances.
Prerequisites
Complete the following tasks to prepare the Windows Server for installation of the transcoder instance and to allow the instance to access the MEDIAL content:
- Ensure that the MEDIAL installation program and license are available on the server that will host the transcoder instance.
- Install QuickTime and the K-Lite Codec pack on the server. See Codec Support.
-
Install the Windows Desktop Experience feature on the server. See Step under Define Roles and Features.
No features other than the desktop experience need to be installed on a Windows server that hosts only a standalone transcoder instance.
- Share the MEDIAL content directory. See Network Content.
- Set the IIS application pool to use the new service account. See Set the Application Pool to use the Service Account.
- Move the database to an SQL cluster. See SQL Cluster.
Install .Net
For each transcoder instance, you must install .NET for the Windows Server.
-
Open the Server Manager in Windows.

-
Click on Manage in the top right of the window.

- In the main window, click Add Roles.
-
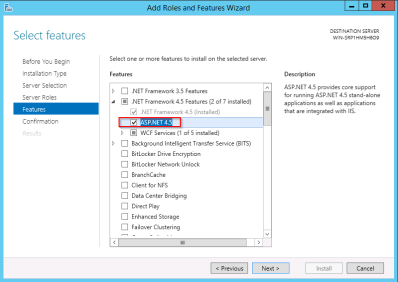
Click Next on each screen until you reach the Features section. Expand .NET Framework 4.5 Features and check the box to install ASP.NET 4.5. Click Next.
- At the confirmation screen, click Install.
- Click Close when the installation has completed.

Run the Transcoder Installer
After .NET is installed, run the MEDIAL installer to set up the standalone transcoder instance.
-
Run the MEDIAL installer by right-clicking it and selecting Run as Administrator.

-
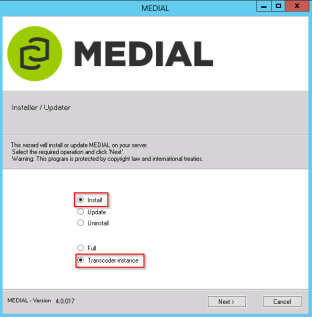
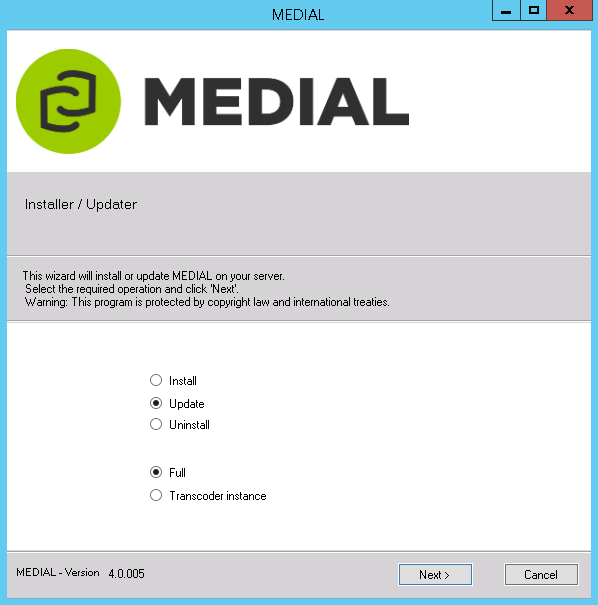
Select the radio buttons for Install and Transcoder instance.
-
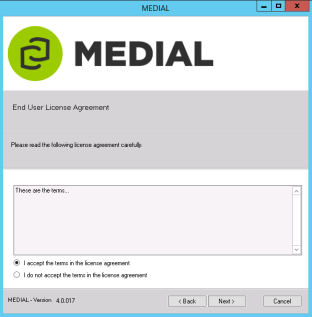
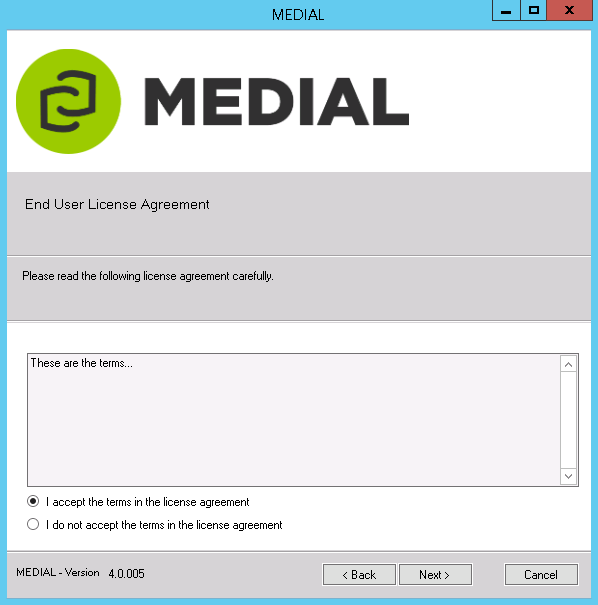
Accept the terms of the license agreement and click Next.
-
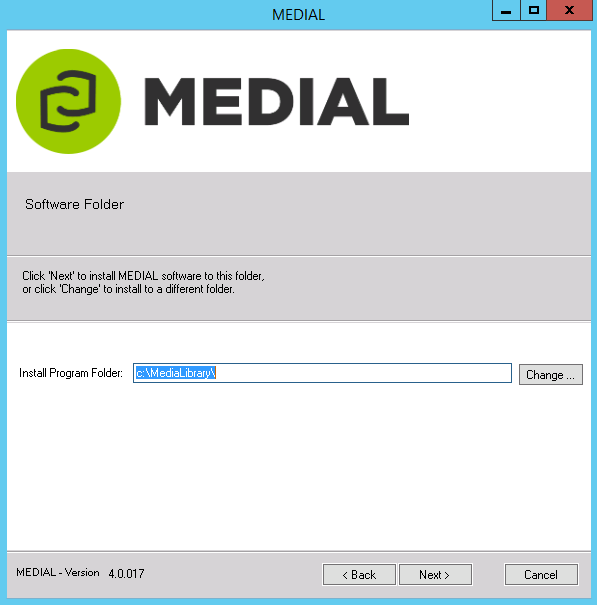
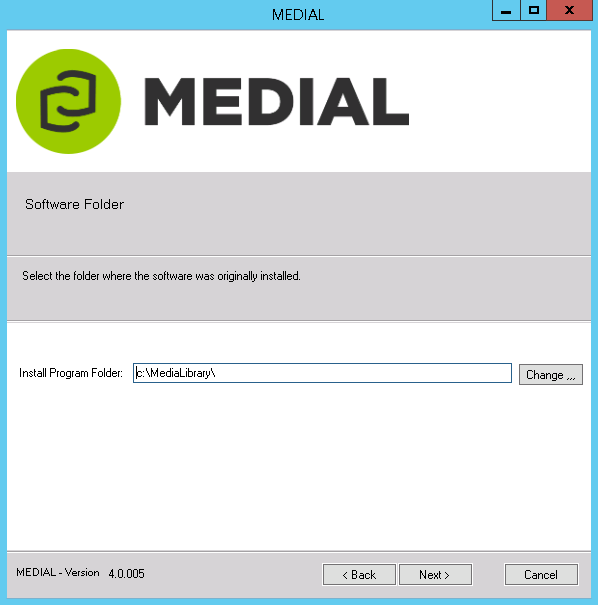
Select the destination for the transcoder files and click Next. The transcoder files must be installed in a path identical to the media library path on the remote MEDIAL server. For example, if the media library is located at c:\MediaLibrary on the MEDIAL machine, install the transcoder in the c:\MediaLibrary path on the local machine.

-
Browse to the license file, select it, and click Next.

-
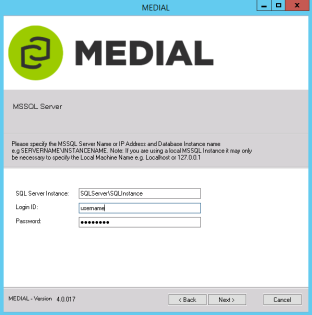
Enter the details for the SQL Instance that contains the VLS database used by MEDIAL.
-
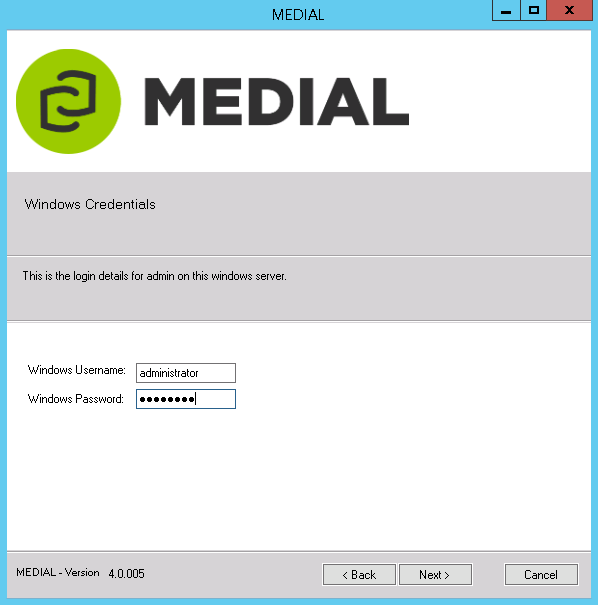
Enter a Windows user name and password for the installer to use. Click Next.
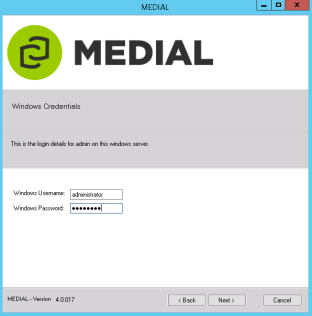
If the account is local, enter just the user name for the Login ID field. If it is a network account, enter it as DOMAIN\username. Because the account will be used to run the encoder scheduled tasks, choose an account that does not expire.
-
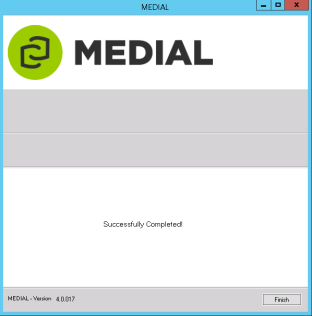
Click Finish to complete the setup.


Upgrade an Existing Encoder
Follow this procedure to upgrade an existing, standalone encoding instance.
To upgrade an existing encoder:
-
Back up the installation directory. By default this is C:\MediaLibrary and it will contain the following folders:
- Encoder
- License
- VLSService
-
Download the latest version of the MEDIAL installer.
If you need to obtain the latest version of the installer, log on to the self-service portal or contact the support team.
-
Right-click the installer and choose Run as Administrator.
-
Select the Update radio button and change the install type to Transcoder instance.

-
Agree to the license to proceed.

-
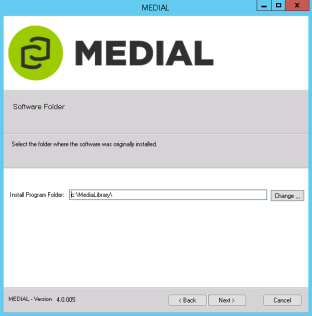
If the media encoder is installed in a different location from the default, click Change and locate it.
-
Supply the credentials of an account that has permissions to run the upgrade. Click Next.

If the account is a domain account, add the domain as a prefix as in DOMAIN/username. Because the account will be used to run the encoder scheduled tasks, choose an account that does not expire.
-
Click Finish to complete the upgrade.


|
©2025 Streaming Ltd | |