MEDIAL Installation
In a basic installation, MEDIAL uses a SQL Server database on the local machine. If you plan to use MEDIAL with a SQL cluster, the account you use to install MEDIAL must be able to create, access, and modify the databases on the remote cluster.
If you need to obtain the latest version of the installer, log on to the self-service portal or contact the support team.
To install MEDIAL software:
-
Launch the MEDIAL installation program by right-clicking it and choosing Run as Administrator.
Running the installer without Administrator privileges may result in an error message that reports that the HML web site exists already. In this case, cancel the installation and run the process again from the appropriate Administrator account.
-
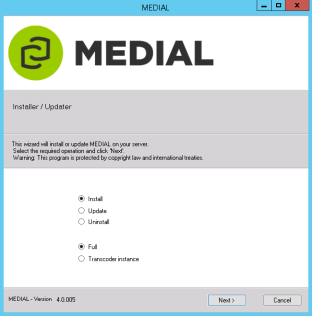
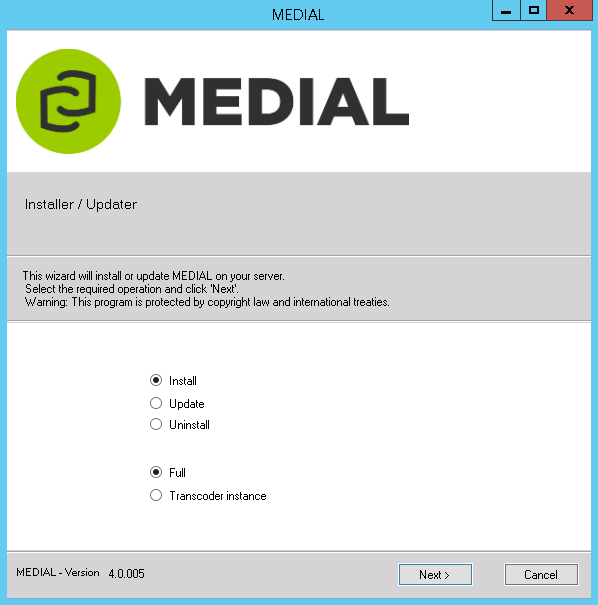
Leave the radio buttons for Install and Full set on. Click Next.
-
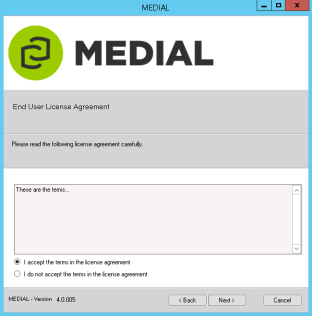
Accept the terms of the license agreement and click Next.
-
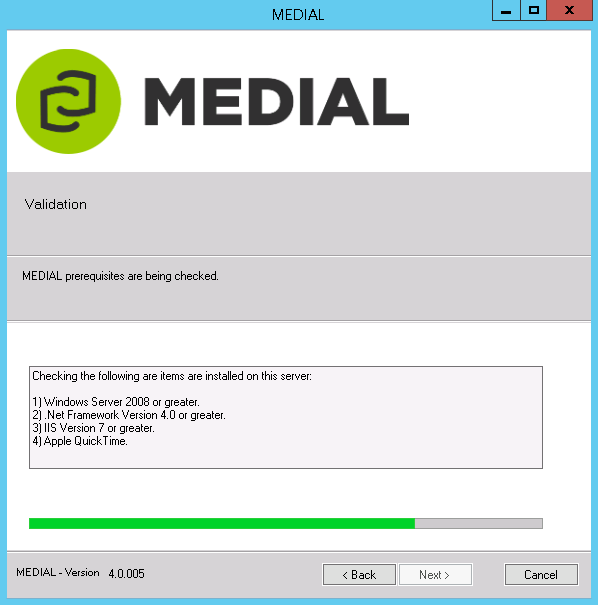
The installer validates the components that need to be present before MEDIAL can be installed. If it detects all prerequisites, it skips to the next screen. If validation fails, resolve the issues and run the check again.

-
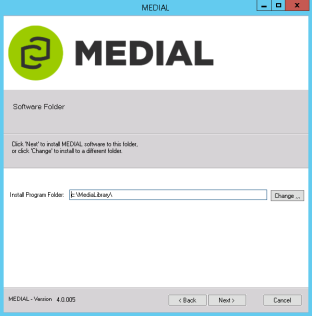
Change the installation directory if you do not want to use the default location. Click Next.
-
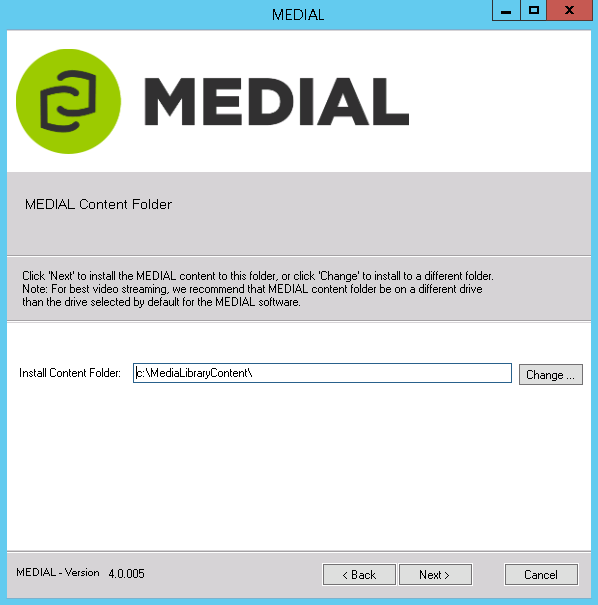
Modify the content directory path if necessary and click Next.

-
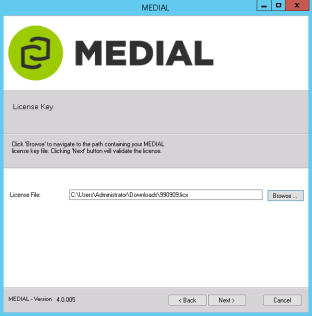
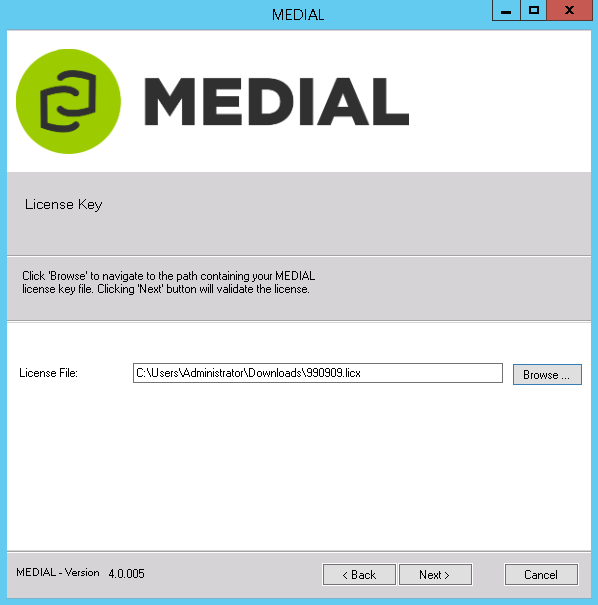
Click Browse and locate the MEDIAL license file. Select it and click Next.
-
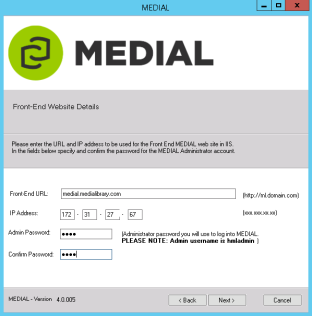
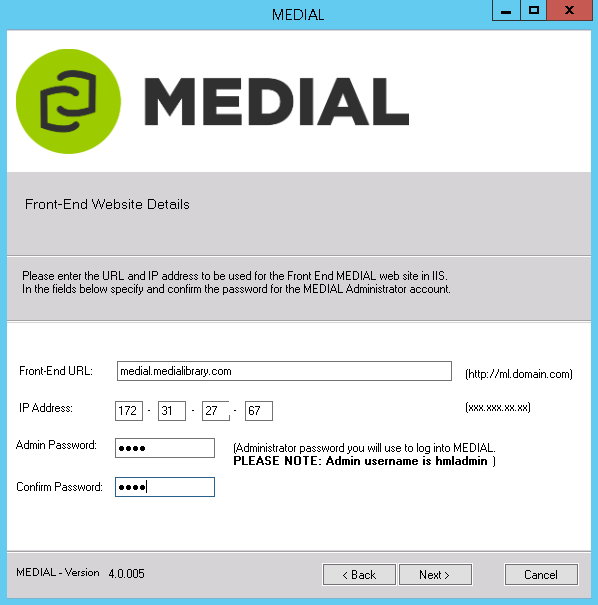
Enter the URL to the front-end MEDIAL site and provide the IP address it uses. Supply and confirm a password for the hmladmin account. Then click Next.
-
Enter the URL of the back-end MEDIAL site and the IP address it uses. Click Next.

-
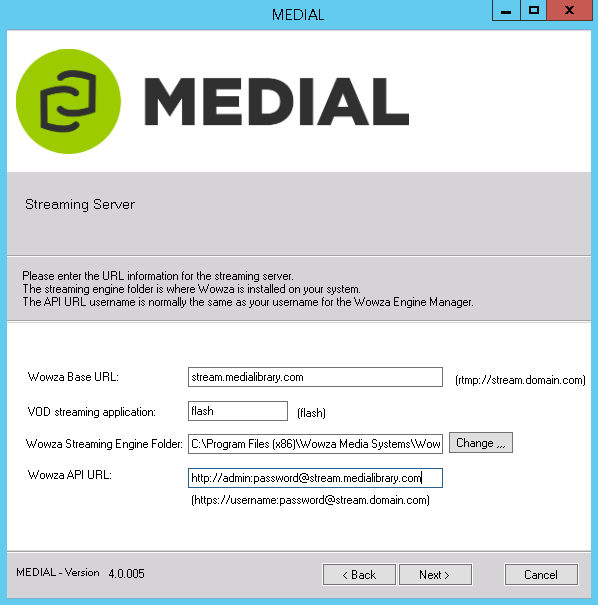
Enter the streaming information as described below and click Next.
- Wowza Base URL – URL used for streaming content.
-
VOD streaming application – Name of the application that MEDIAL uses to deliver Flash on-demand video content.
Unless you have a specific reason to use a different name, use the default application name flash.
-
Wowza Streaming Engine Folder
-
If you are installing Wowza Media Server on the same machine as MEDIAL, enter the full Windows path to the folder inside the main Wowza installation folder. In the following example from Windows Explorer, the folder name is shown as Wowza Streaming Engine 4.1.2.

-
If you are installing Wowza Media Server on a remote machine (that is, a server other than the one that hosts MEDIAL), enter the network path to the Wowza streaming engine folder. For example:

If a message says that the Wowza Server could not be contacted, ensure that either the Windows firewall on the Wowza Server is disabled or that port 1935 is open.
-
-
Wowza API URL – URL of the Wowza API that can extract playback statistics from the streaming server. The URL contains the login credentials in this form:
http://username.password@URL_to_Wowza_Server
-
Enter the server and instance name in the form SERVERNAME\INSTANCENAME. Provide credentials for a SQL account to be used for installing and connecting to the database. Click Next.
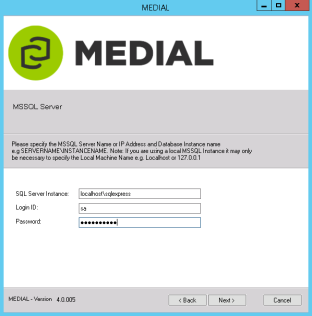
This account must have permission to create a database. It is recommended that the sa account be used for the installation.
-
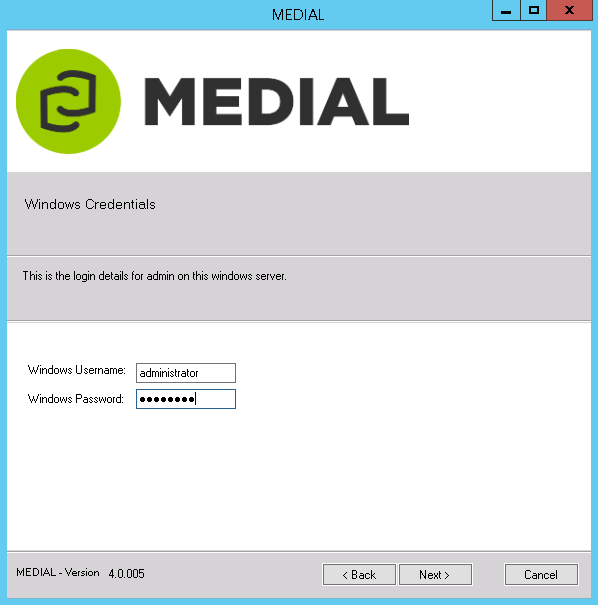
Provide Windows credentials to run the installer. These will be used to run the encoder scheduled task following the installation. Click Next.

-
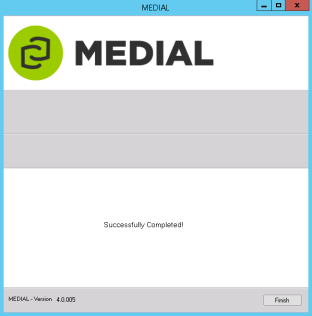
Click Finish to complete the installation of MEDIAL.


After you have installed MEDIAL, you customize it as explained in the Administration section. You may want to set up E-Mail Notifications and perform other modifications described in the section Customization.

|
©2025 Streaming Ltd | |